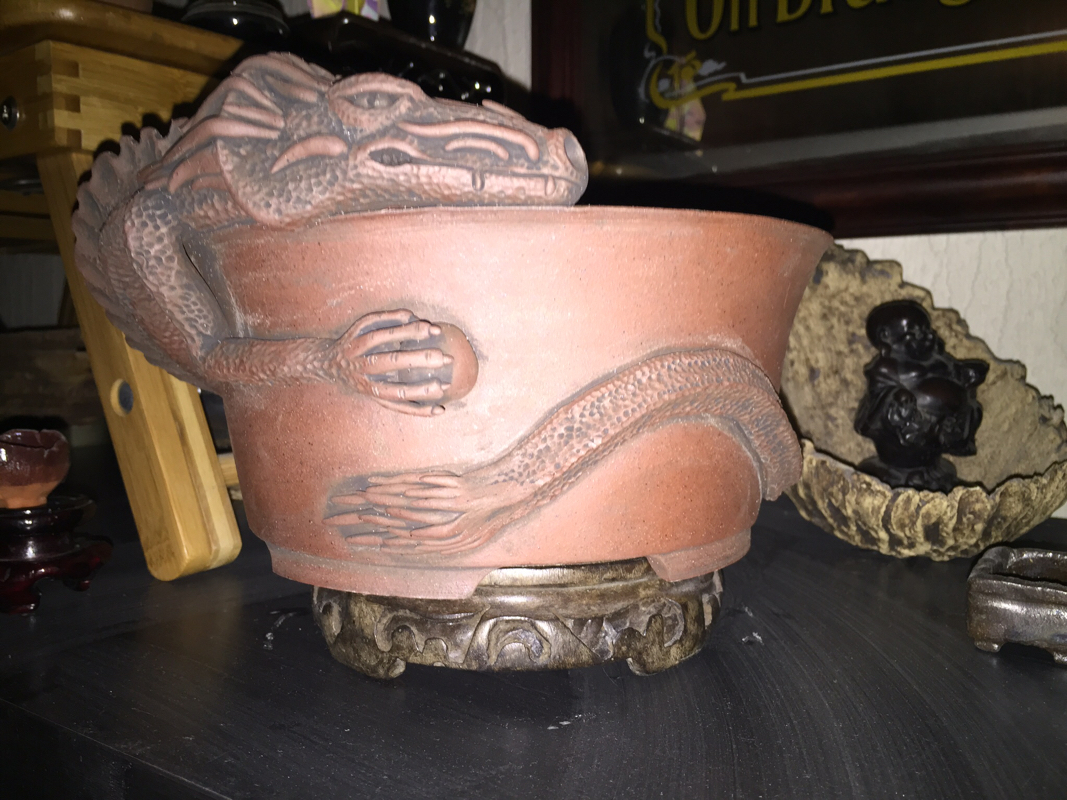
 On arriving at Noelanders on Saturday morning, I was overjoyed to discover that the two pots I had my eye on, by Andy of Stone Monkey Ceramics, had not yet been snapped up! Andy had hidden them from the traders during Friday's set up; a smart move, as I'm sure there would have been little left come the start of the show! 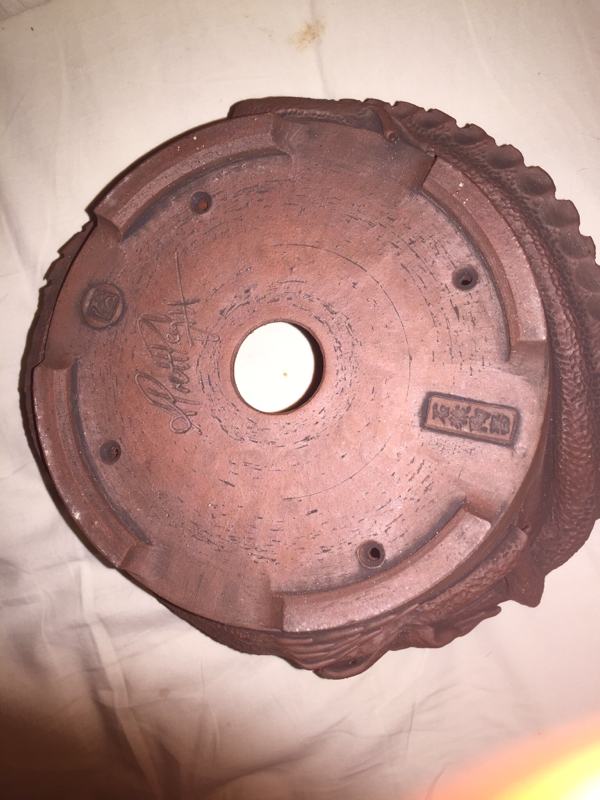 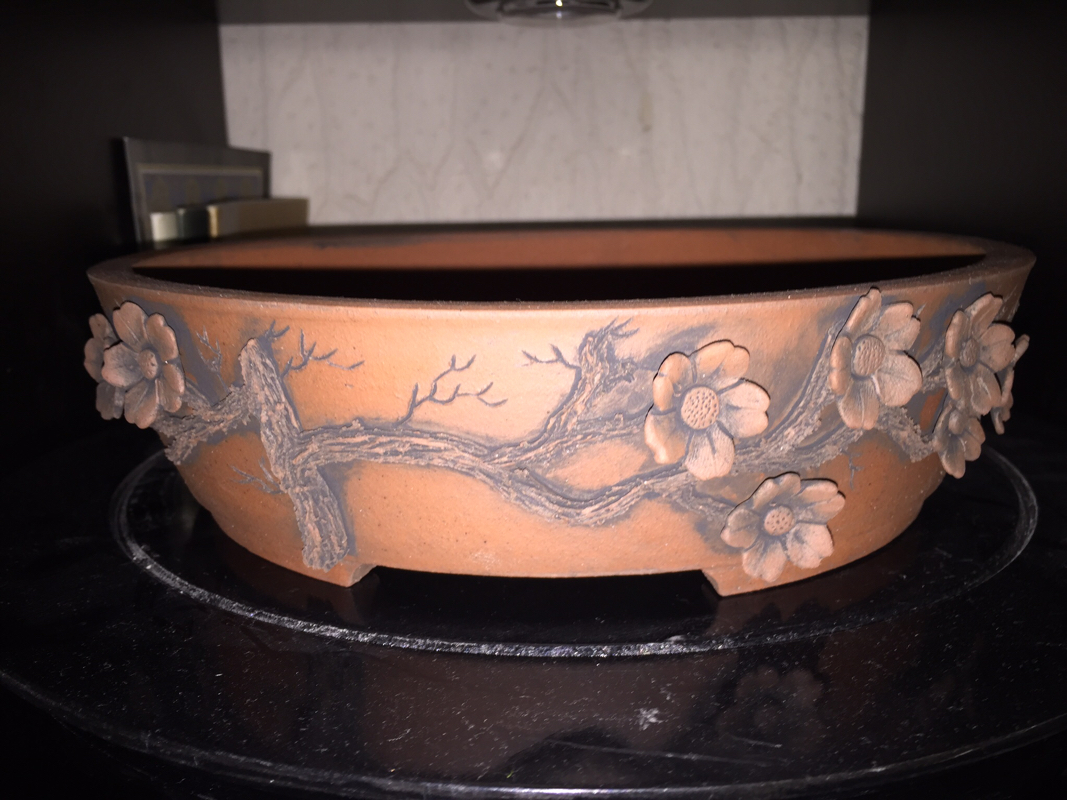 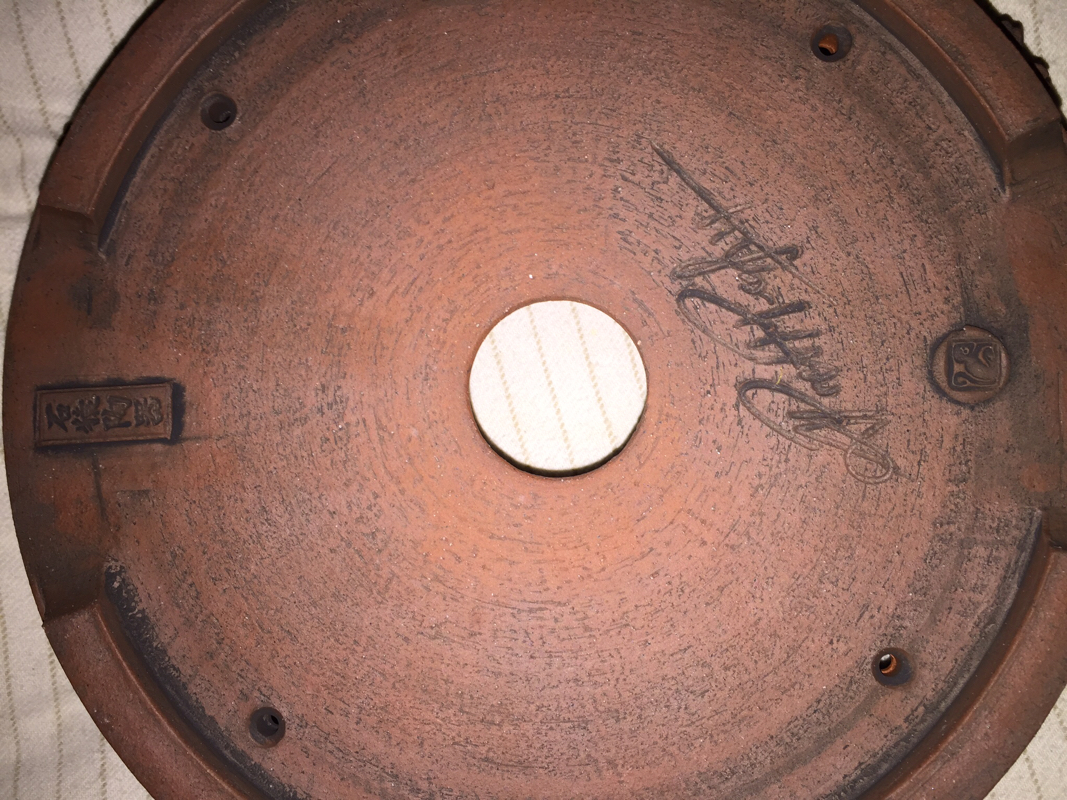 In addition to these fantastic pieces, I couldn't resist bringing home these 3 superb Stone Monkey accent pots. I believe his lovely and very talented wife Marie helps/makes these. 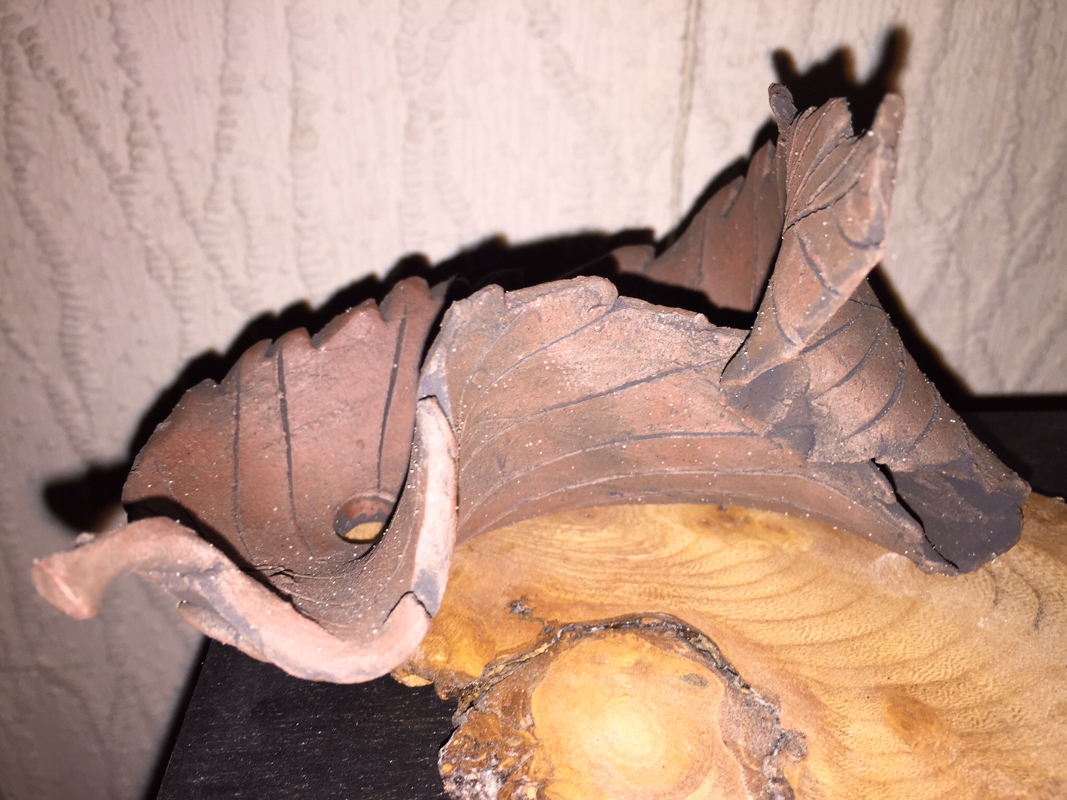 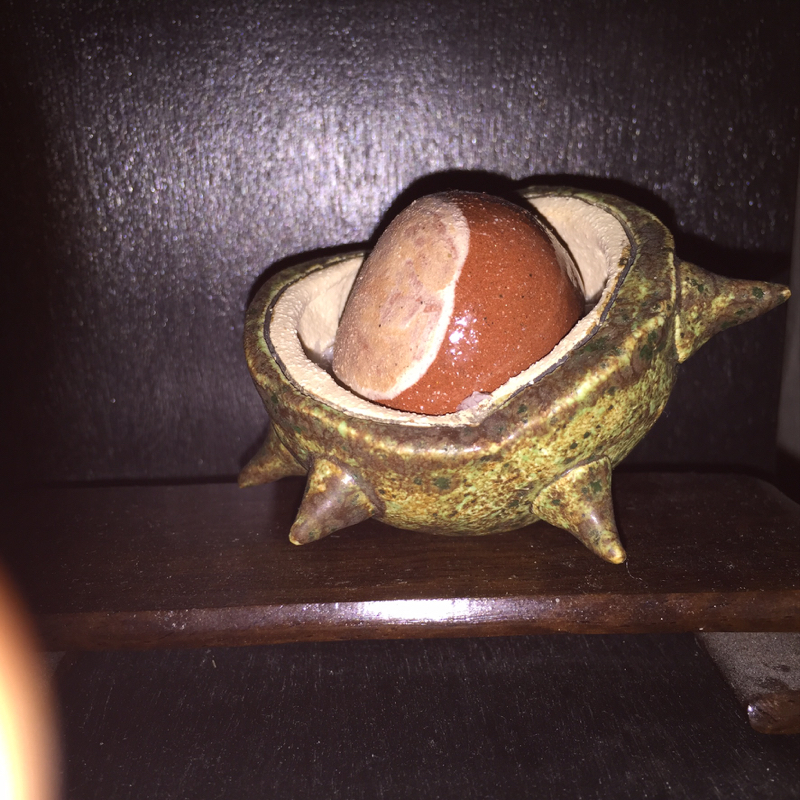  Andy's stall had a constant buzz of admirers gathering up his wares. He recently won gold in the un-glazed category of the 40th Gafu-ten, and I was fortunate enough to meet him recently at Maidstone bonsai society meeting, where he gave a very insightful talk on pots & selection called '50% of the enigma'; a lovely bloke and a superb artist! 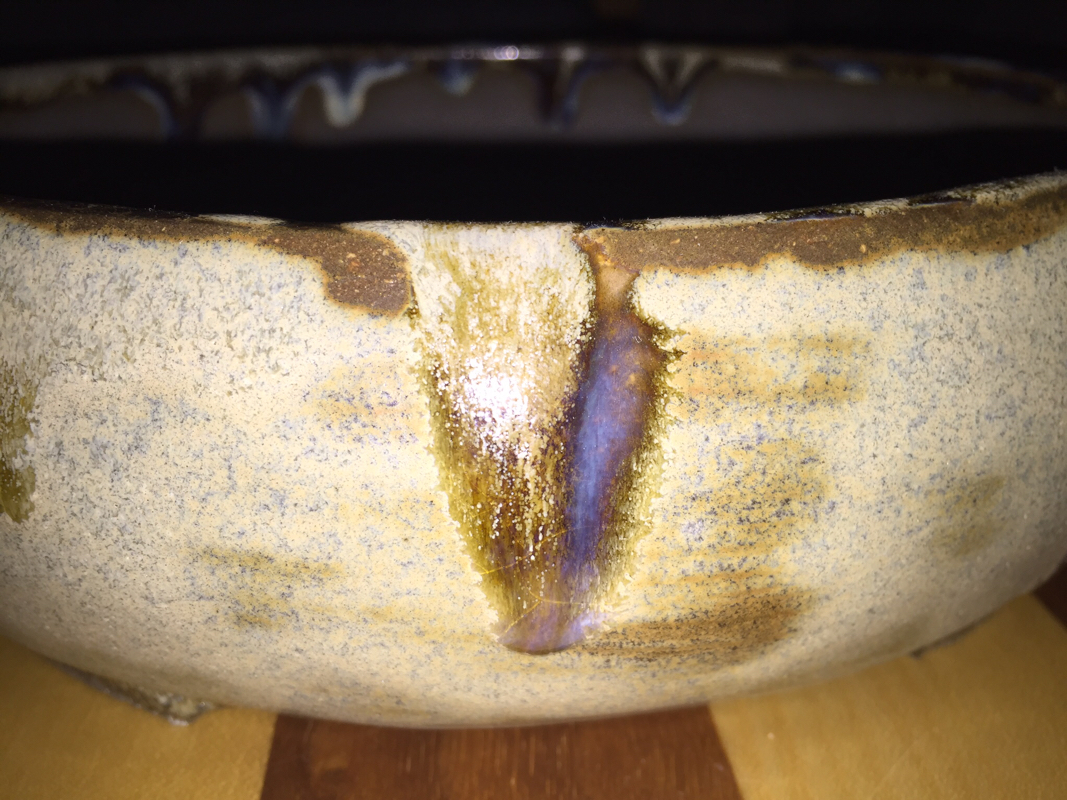 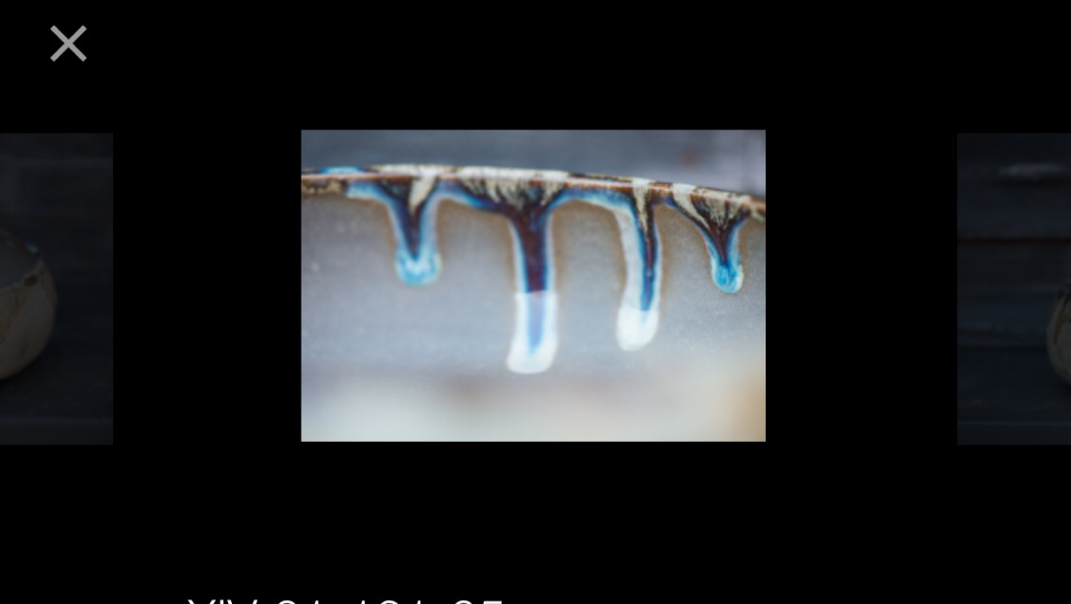 The above pot is by Makisada ceramics of Belgium. Jurgen & Veerle were kind enough to bring this along to Noelanders for me, which was much appreciated! I was looking forward to meeting them, as I recently acquired the next 2 pots from them, which ooze quality and attention to detail and are amongst my favourites; great guys! 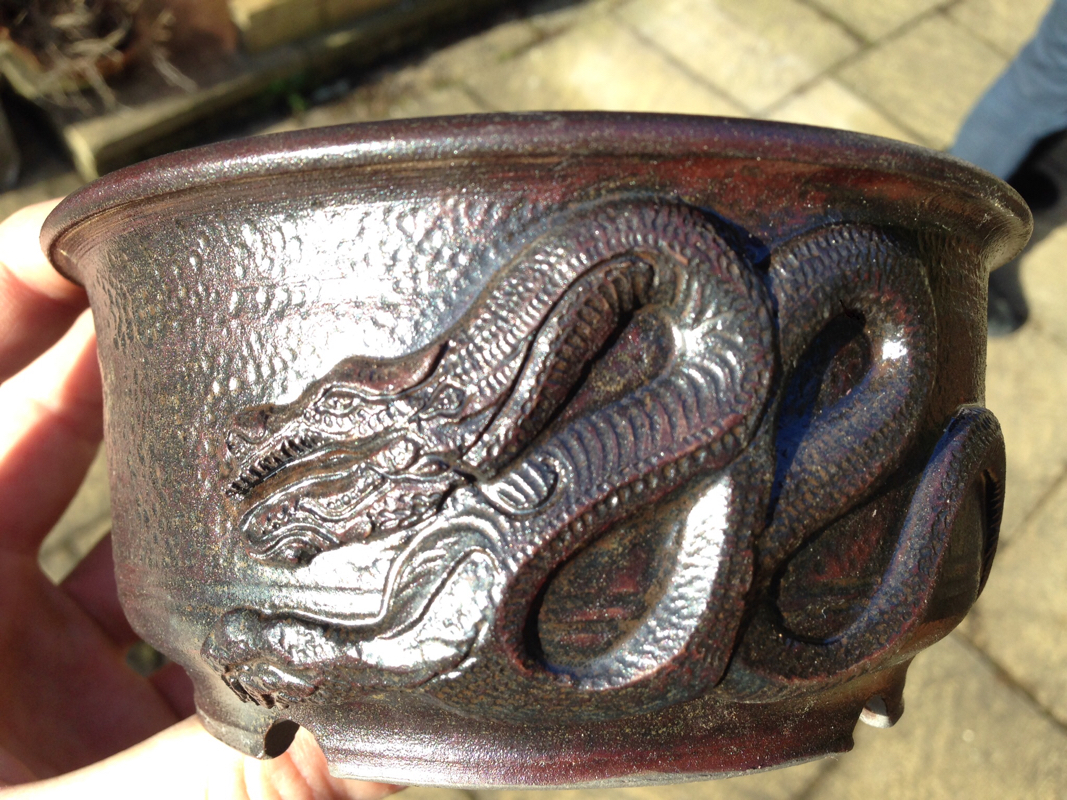 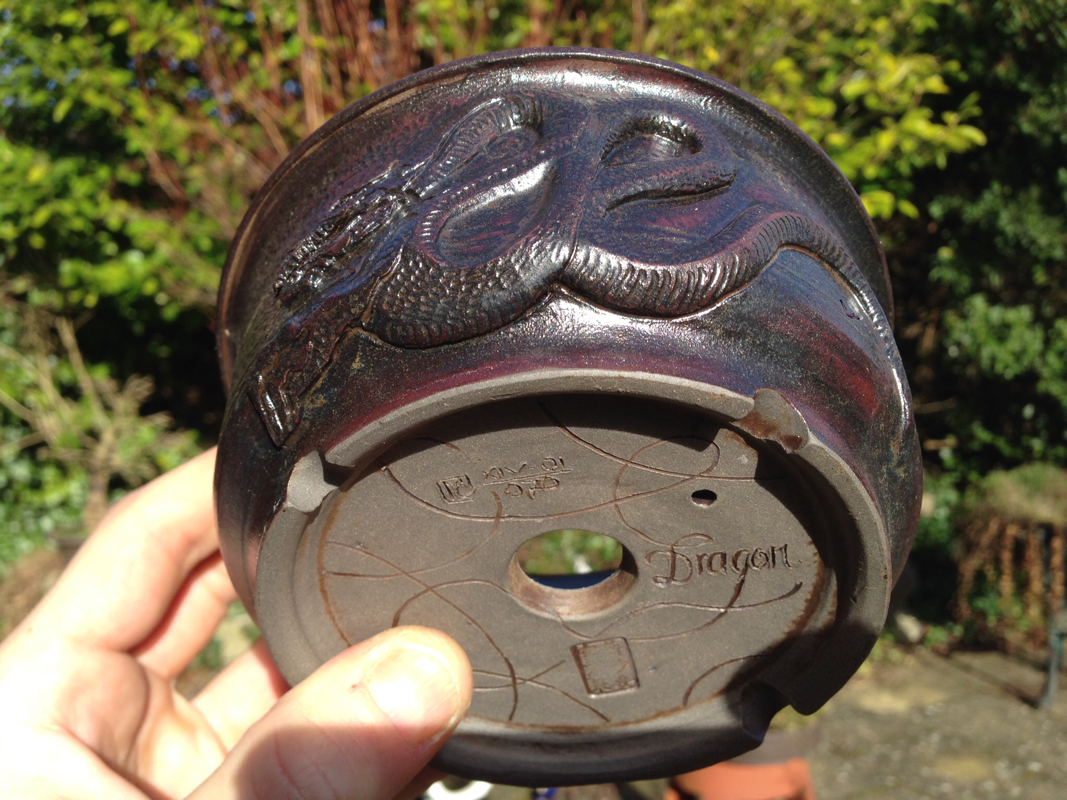 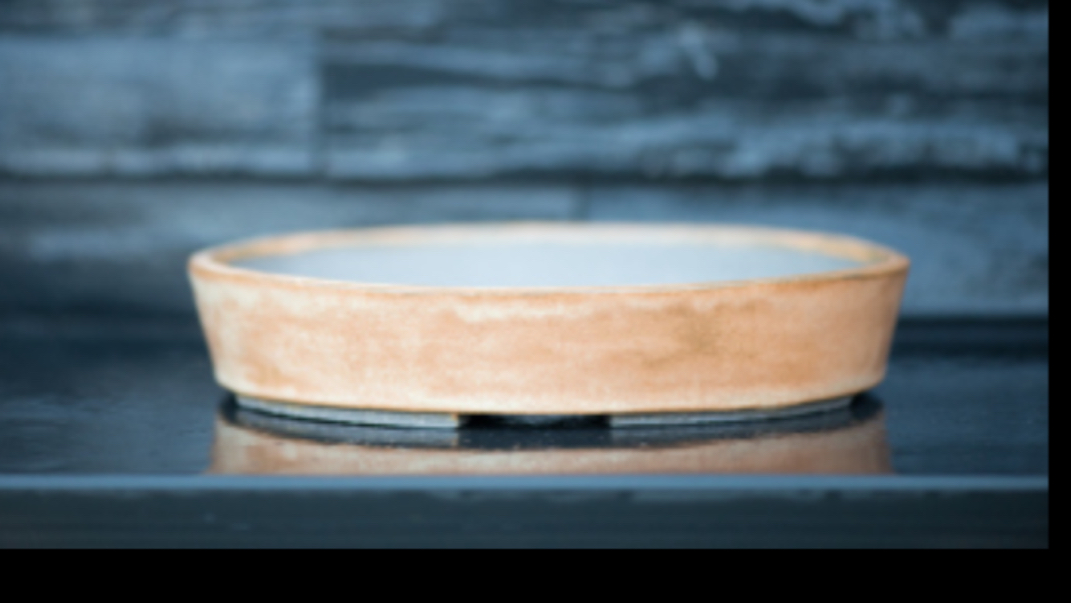 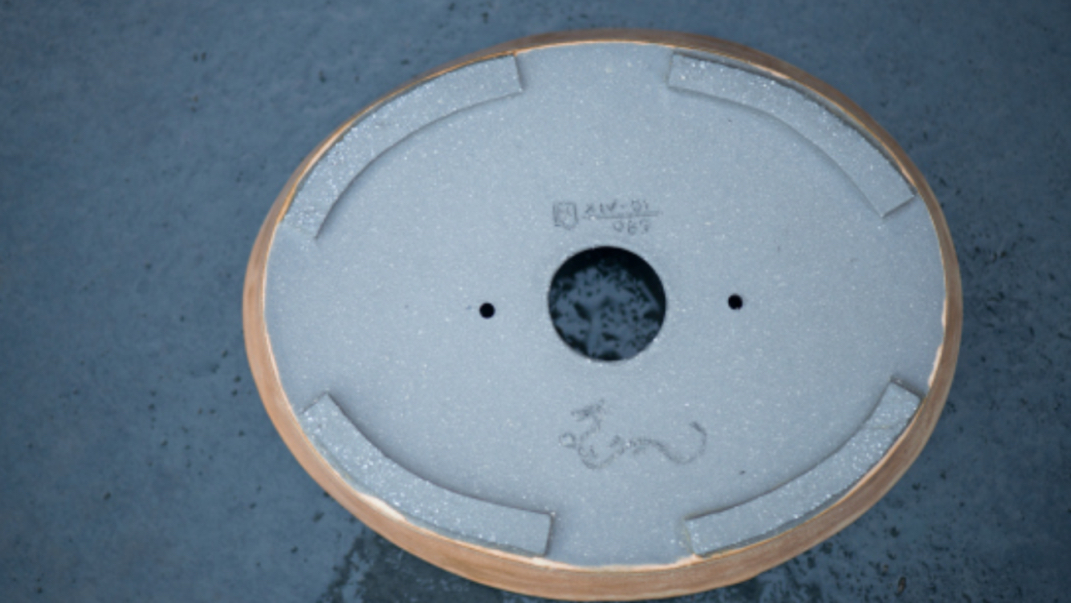 Another ceramic artist I wanted to meet was Thor Holvila, Sweden. I had recently acquired a couple of his pots and I love his rugged masculine pots and glazes. The first of these is a 'Nidhogg Dragon pot', which depicts the world tree Yggdrassil as guarded by the dragon snake Nidhogg. The design is based on an old Scandinavian pot from the 12th Century. 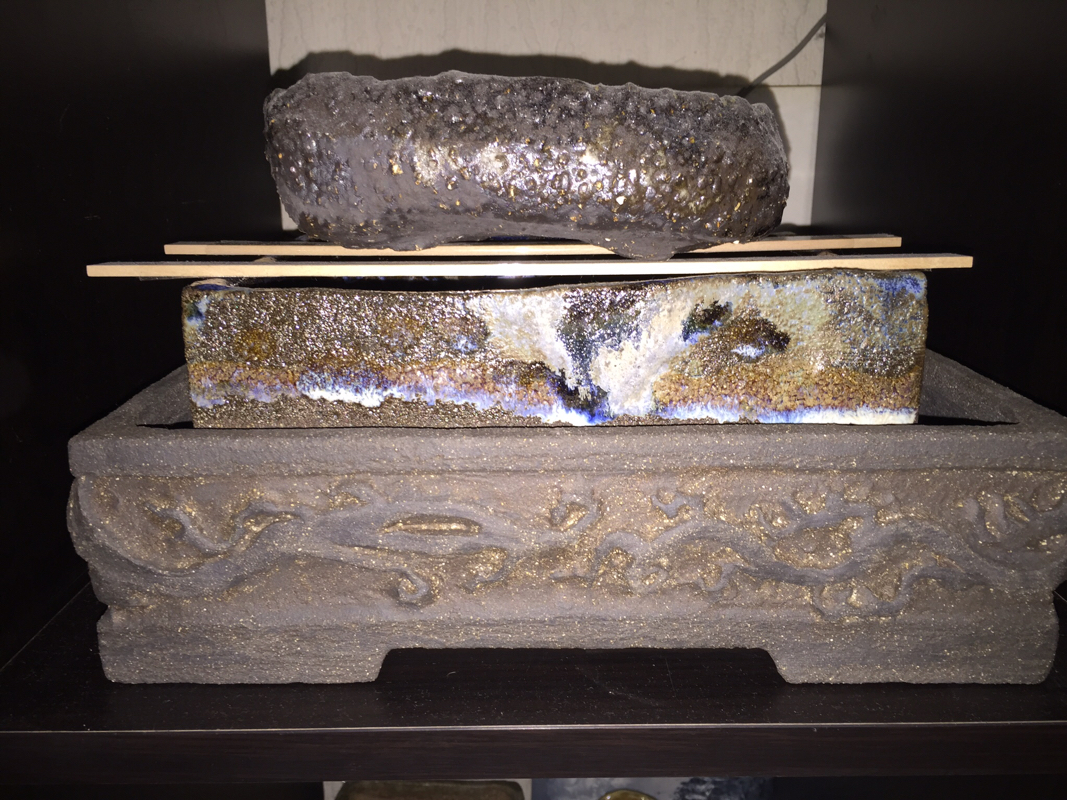 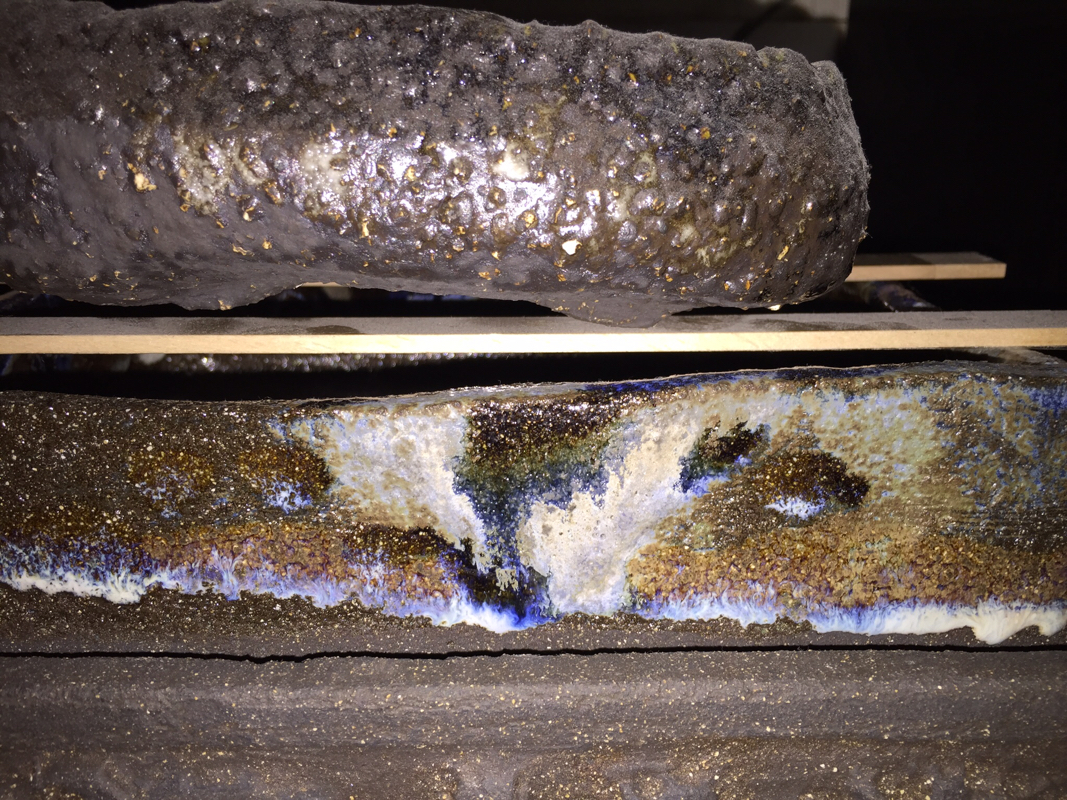 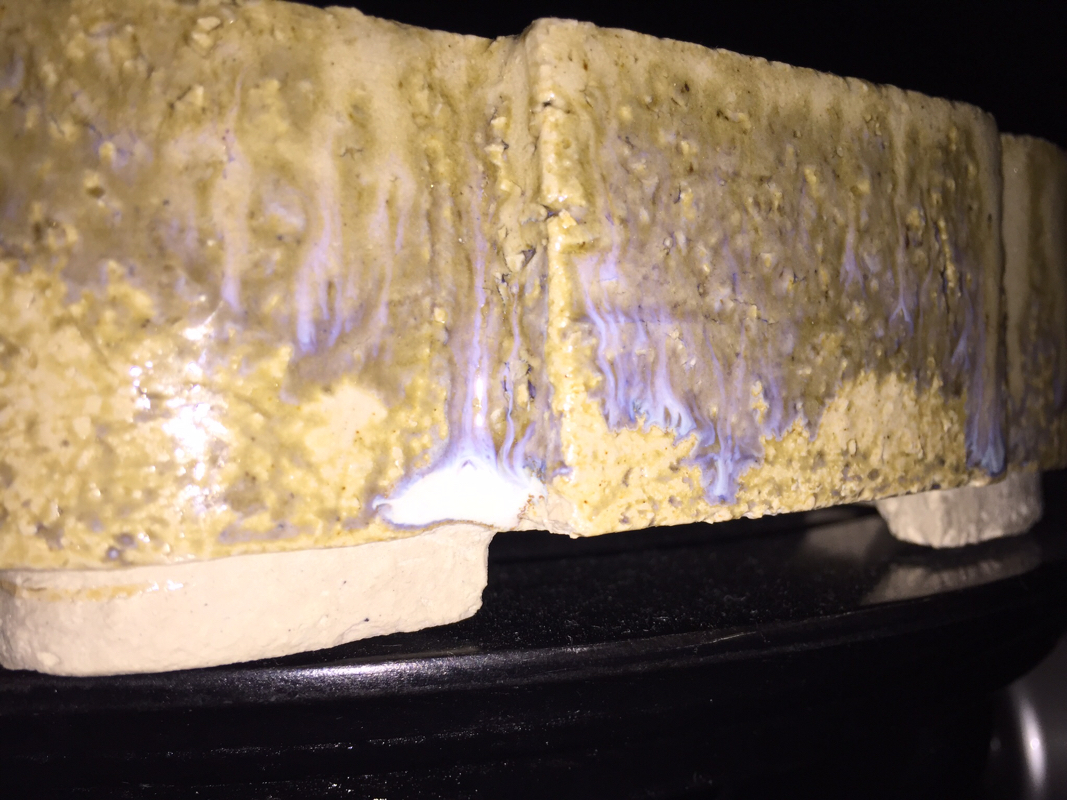 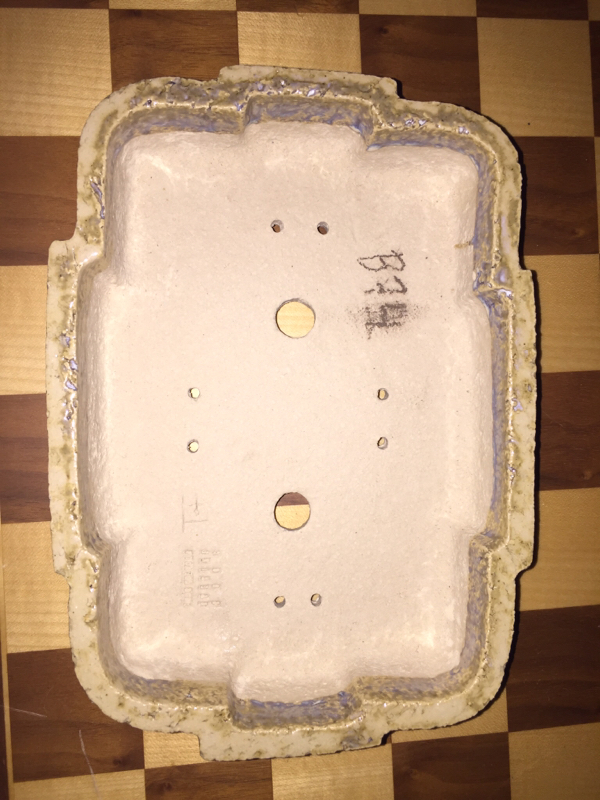 And finally, although unfortunately not at Noelanders, a post on my favourite pots would not be complete without some of Vic's pots from Erin pottery. The first will house a large Arakawa maple, and the last a Pyracantha. 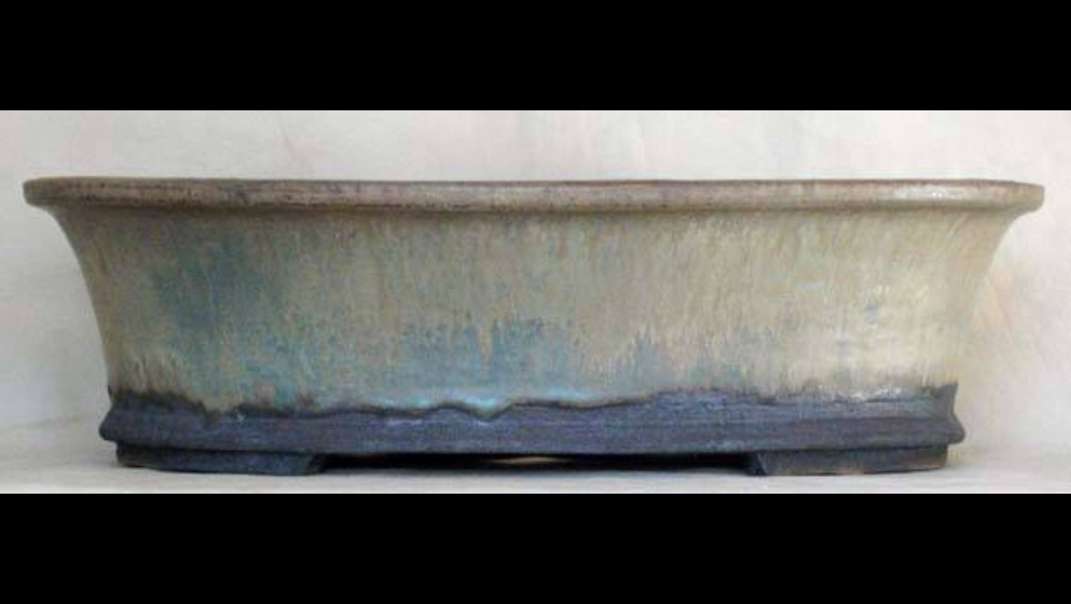 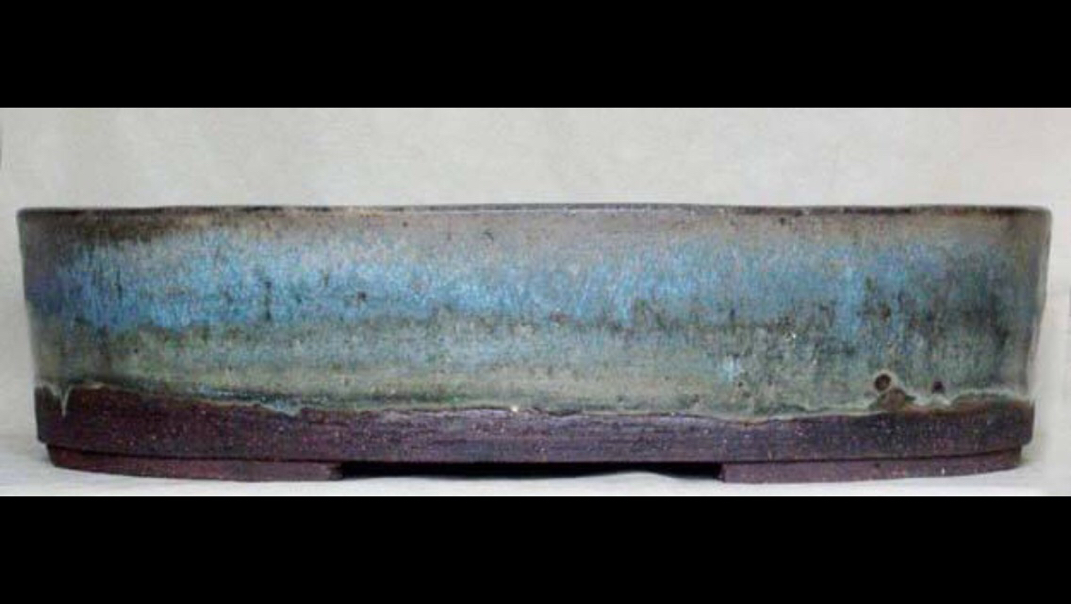 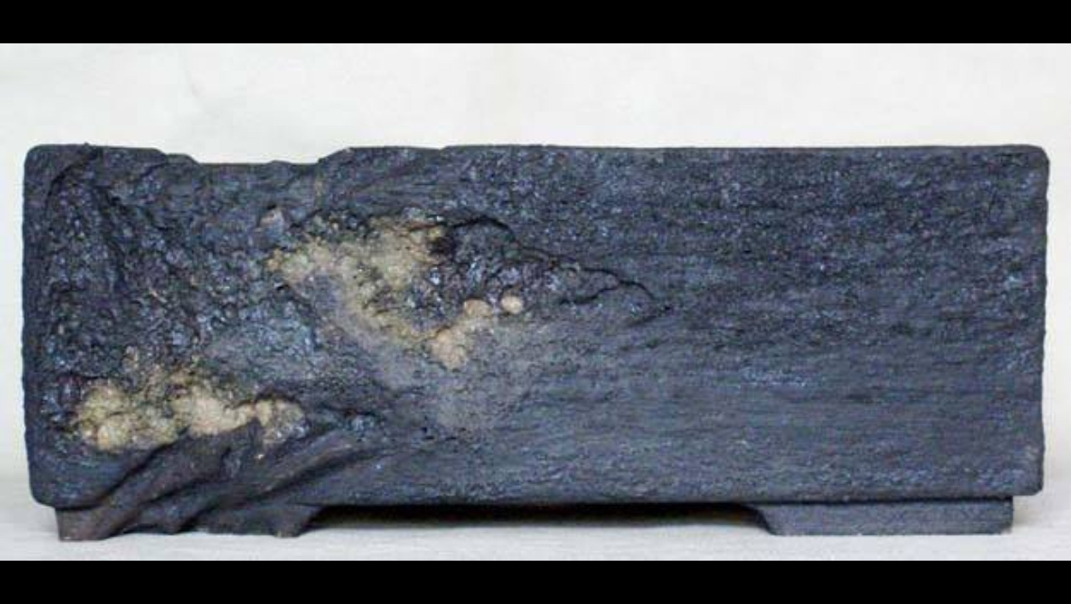 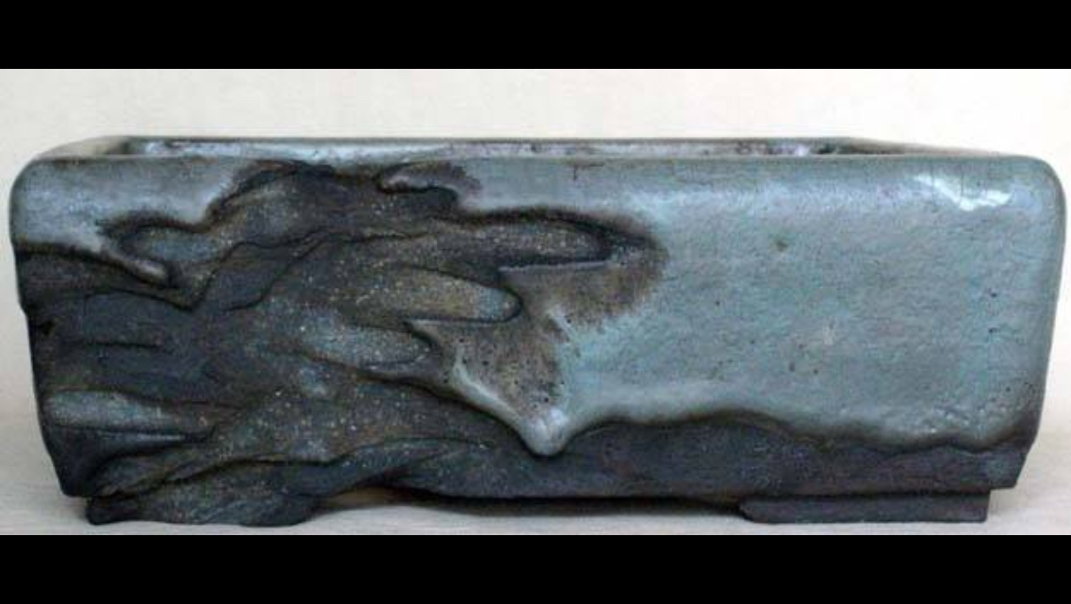 .
0 Comments
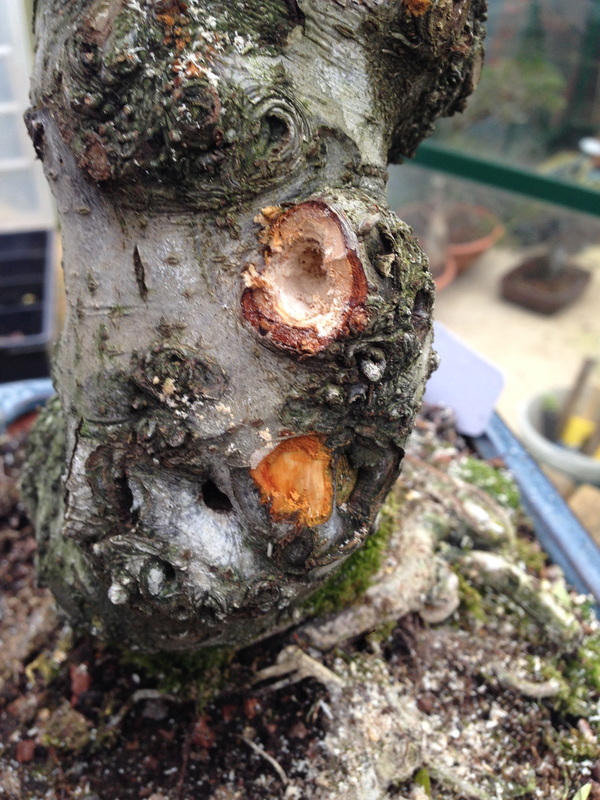
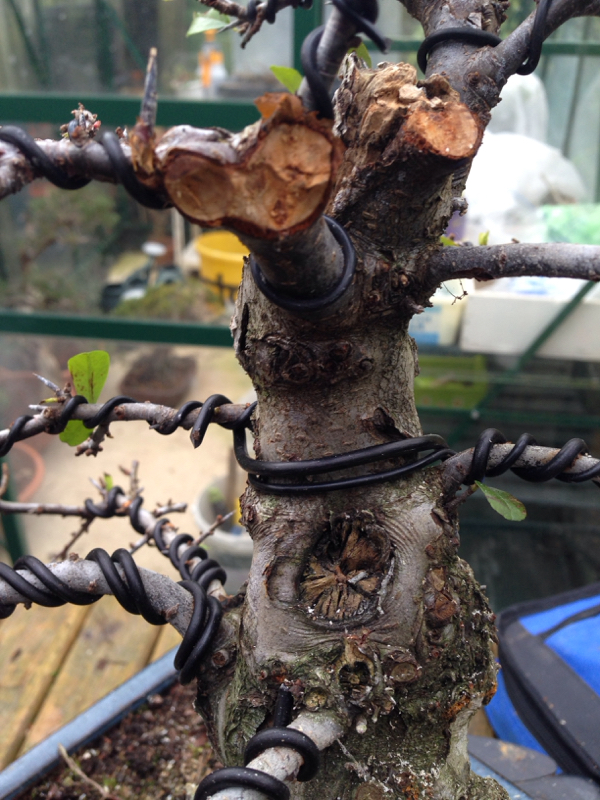
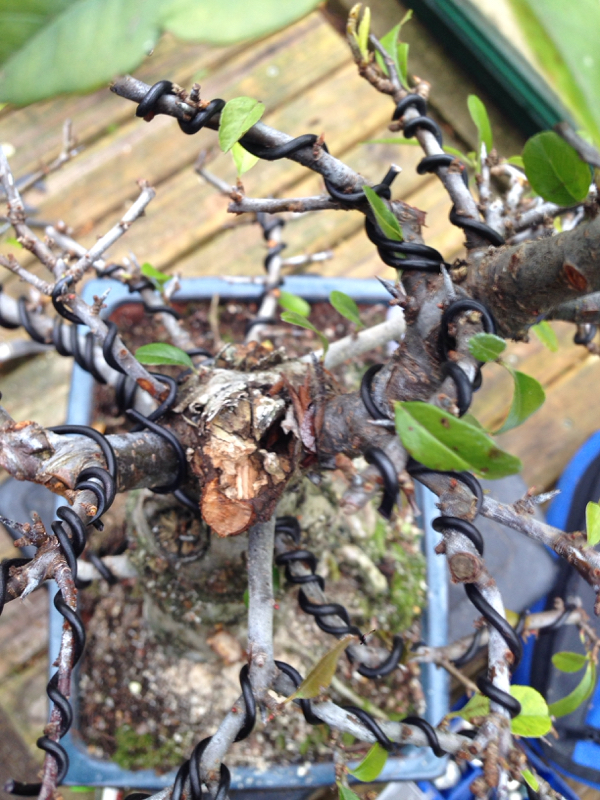
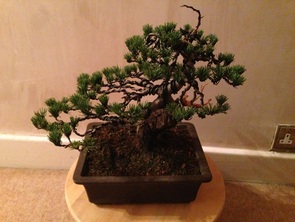
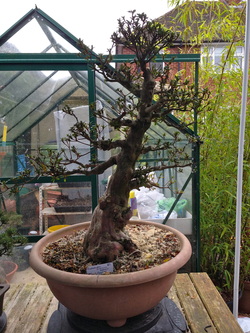
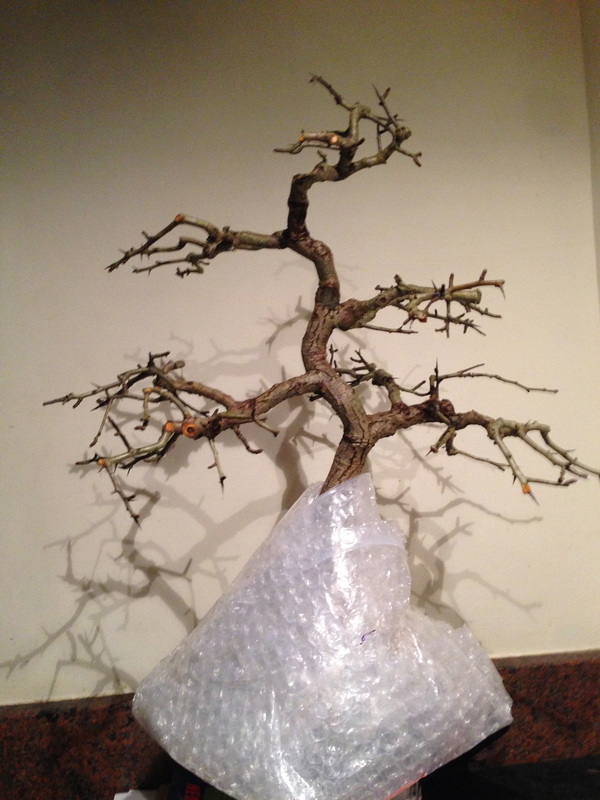
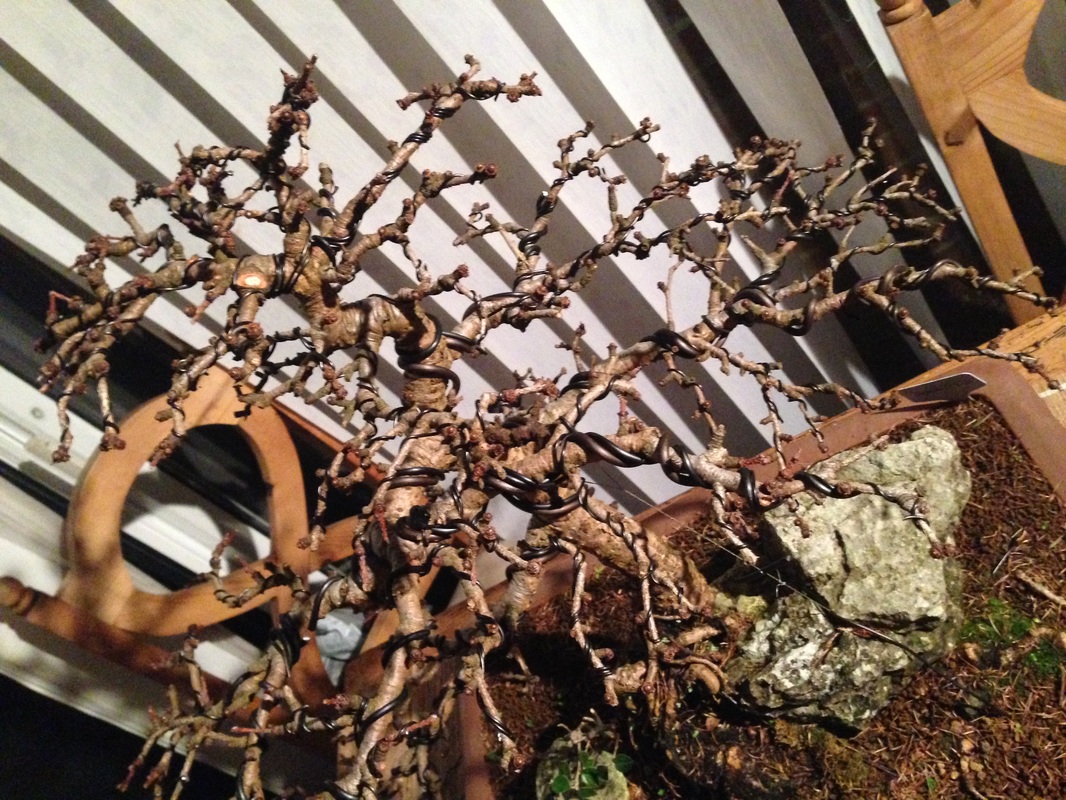
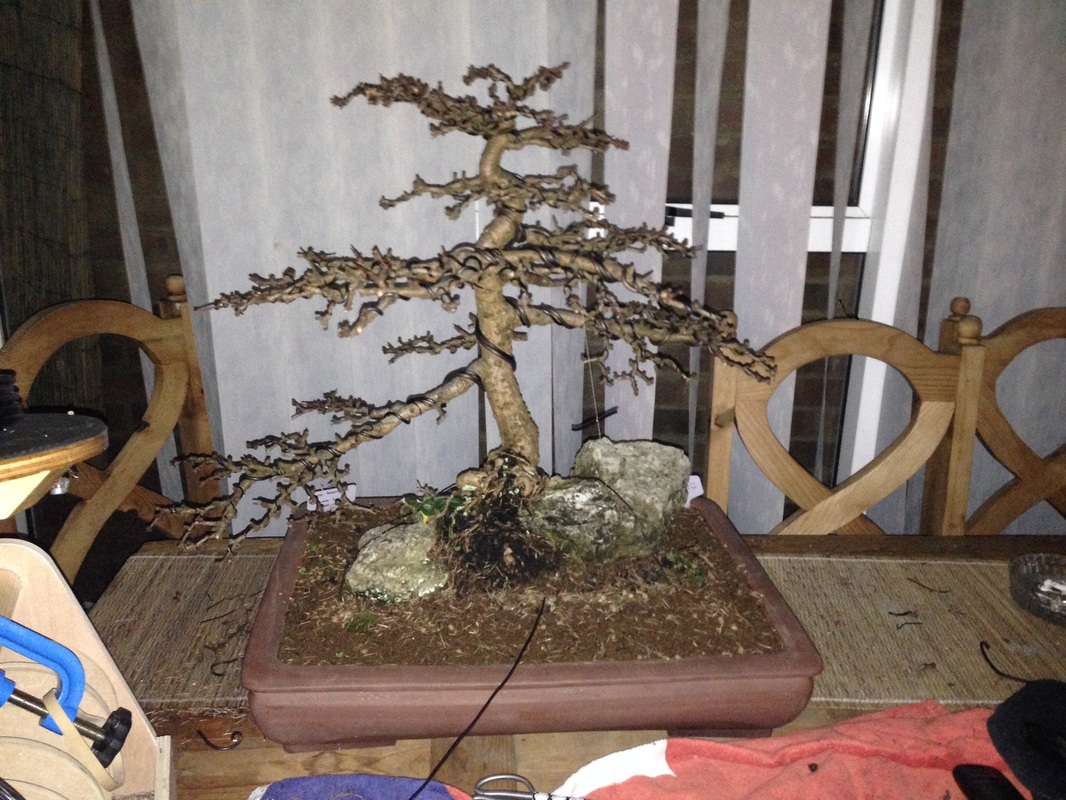
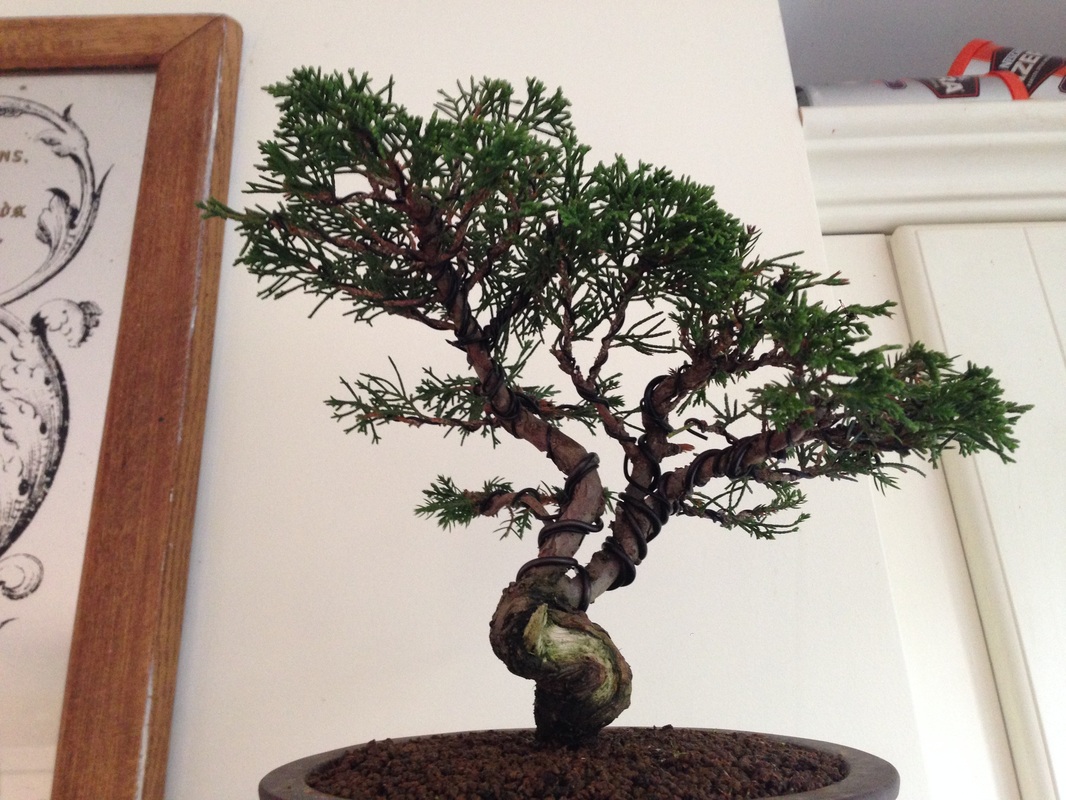
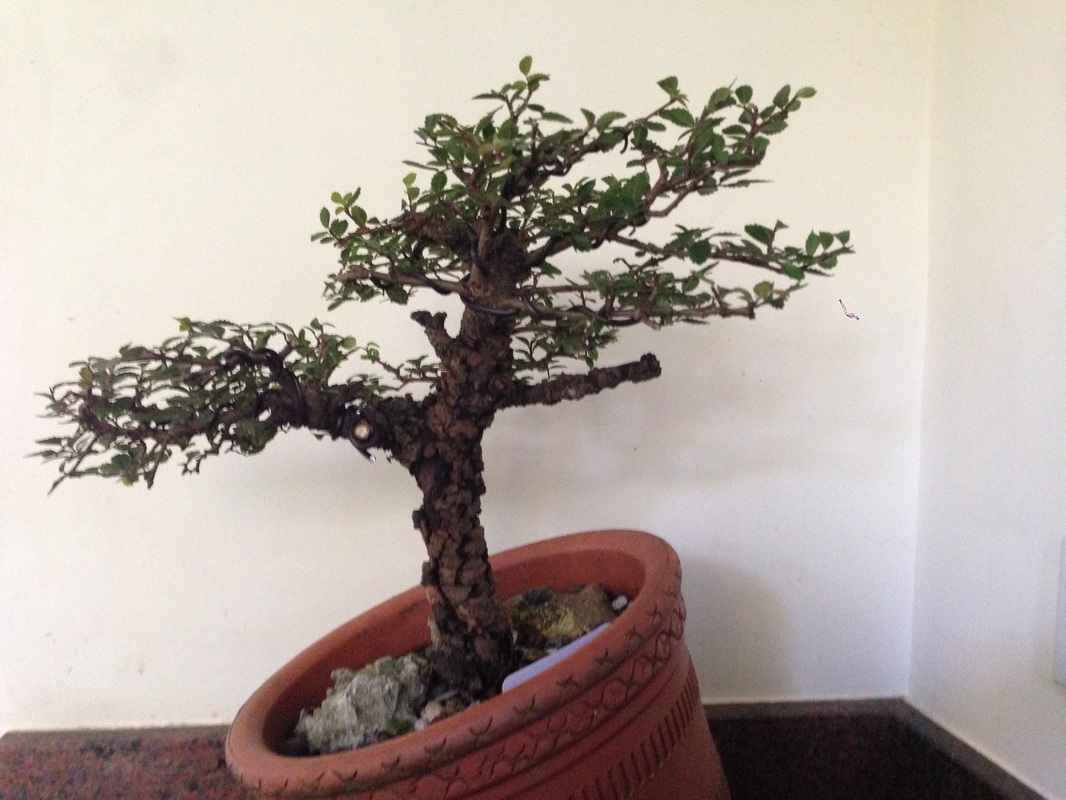
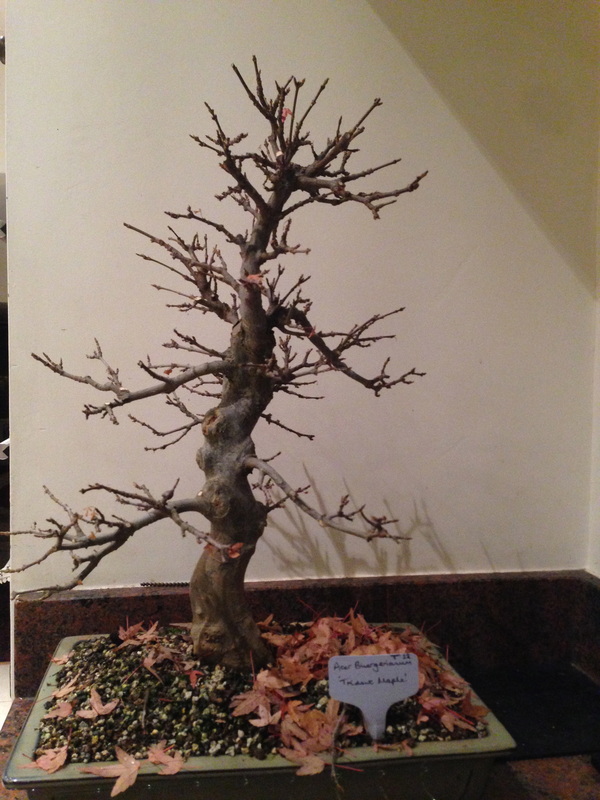
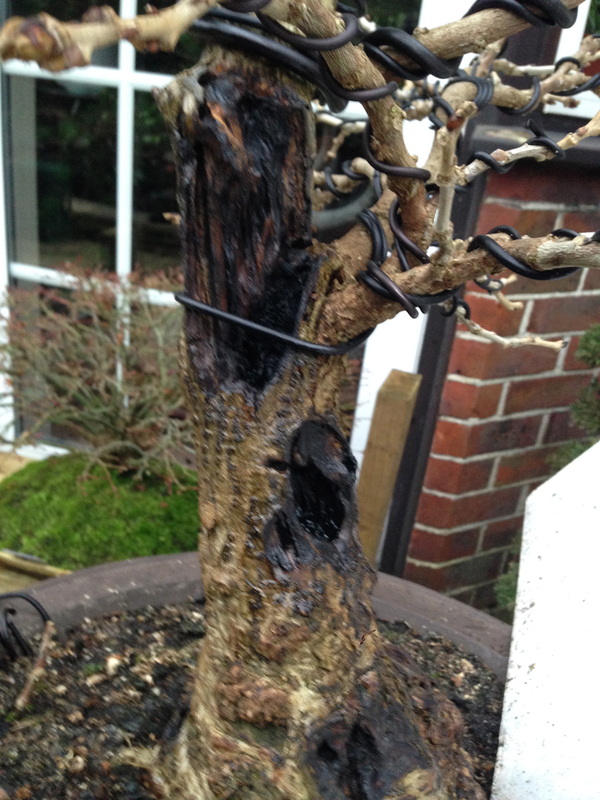
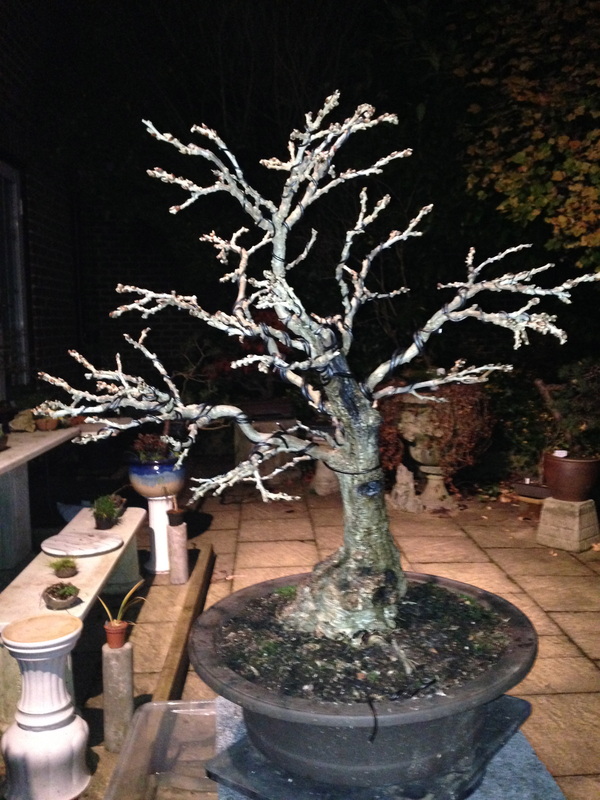
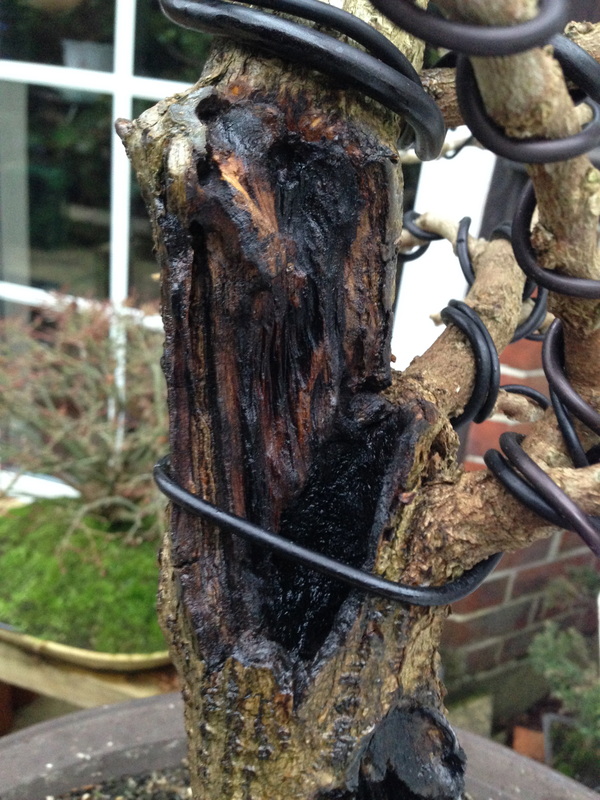
This tree i recently acquired had quite long primary branches, and if I tried to build ramification (branching structure) without first pruning them, the tree would become even wider and taller, which would be disproportional to the trunk width. The tree therefore was pruned back quite hard, so the ramification building process can start. In addition, unwanted branches which offer nothing to the final design were removed. The tree was then wired and styled. Although the movement of the tree was to the right, the main branch was to the left, so this was removed and the bottom left branch wired down to become the defining branch. The trunk has interest and movement but now had a few new wounds from branch removal, and some old scars where the heartwood had started rotting (and a scar where the wind blew my poly-tunnel bench over).
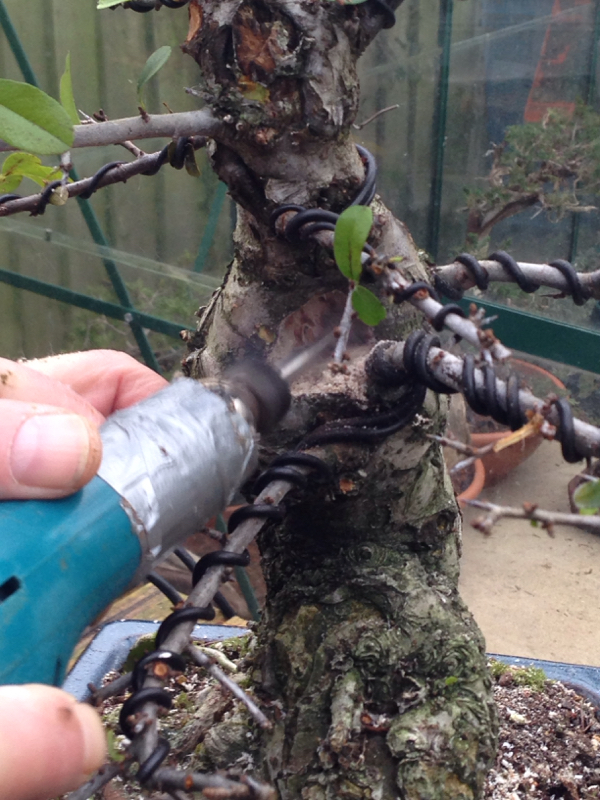
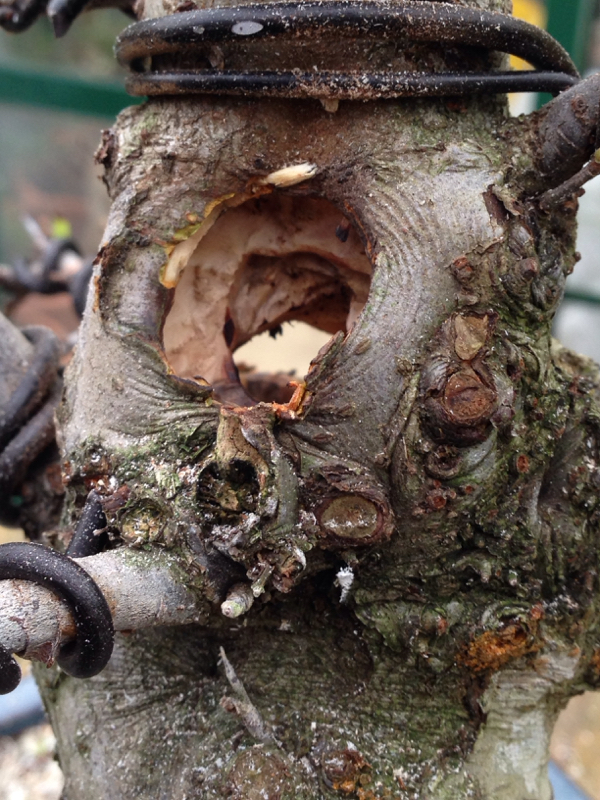
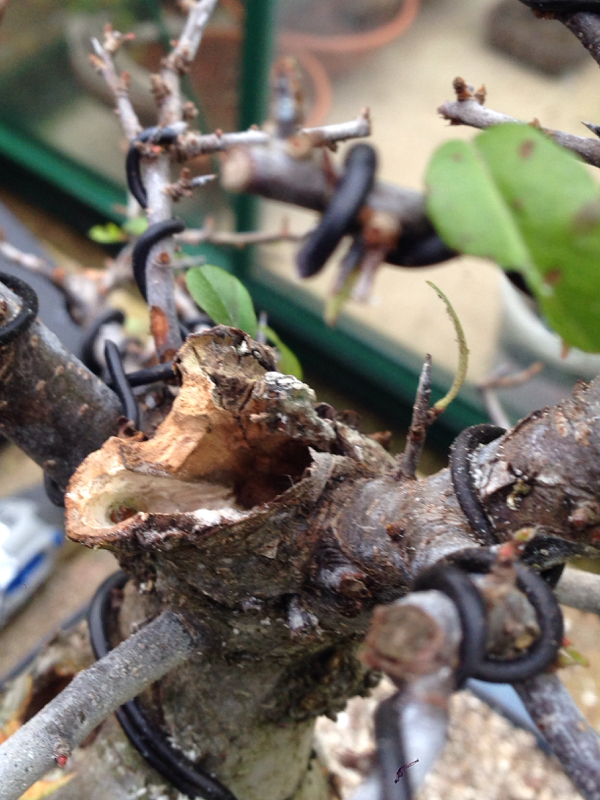
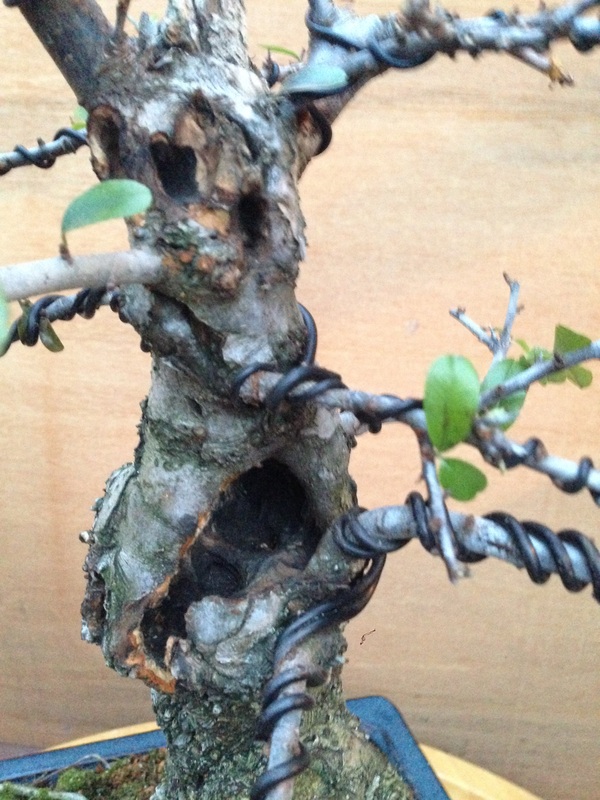
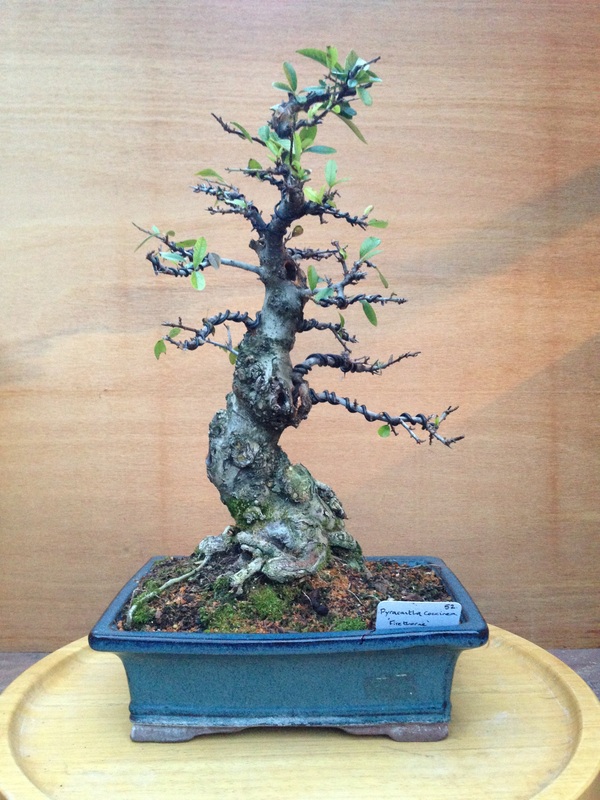
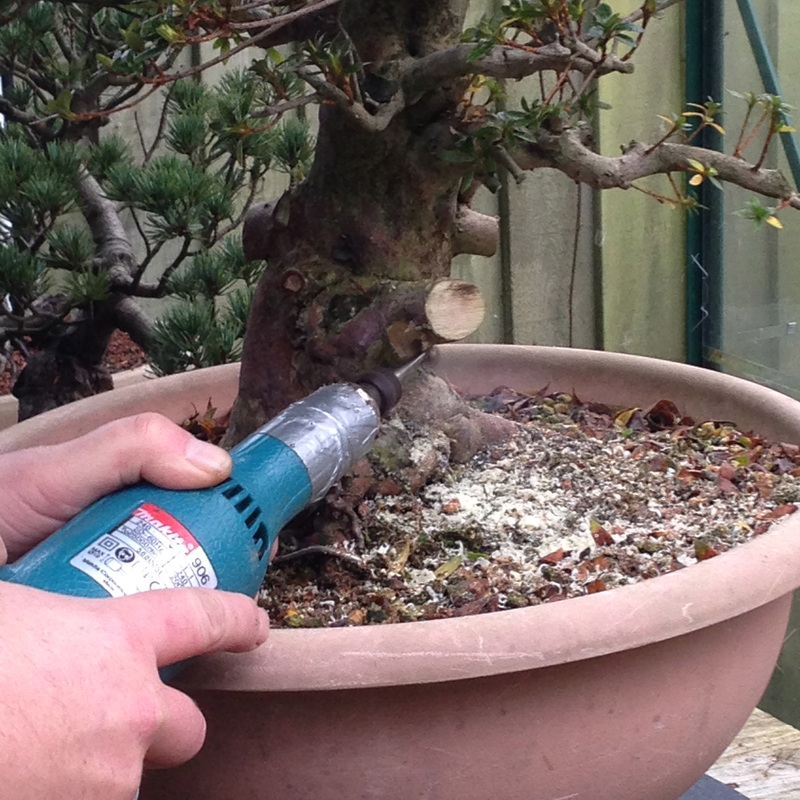
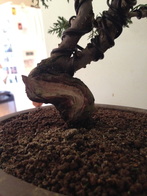
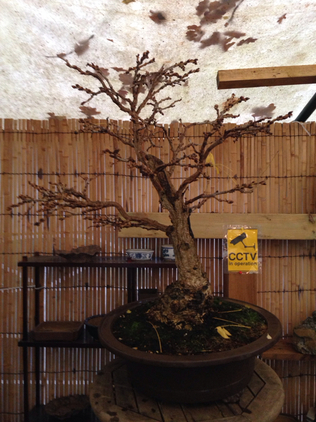
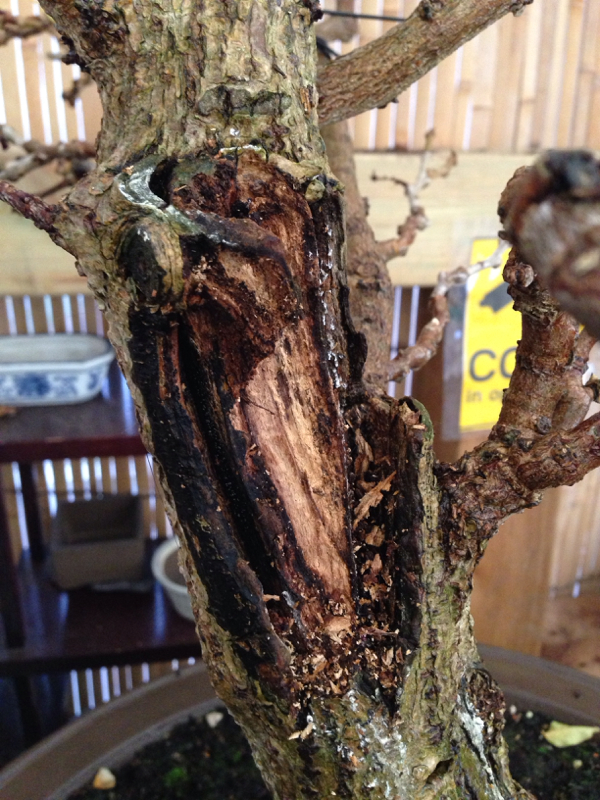
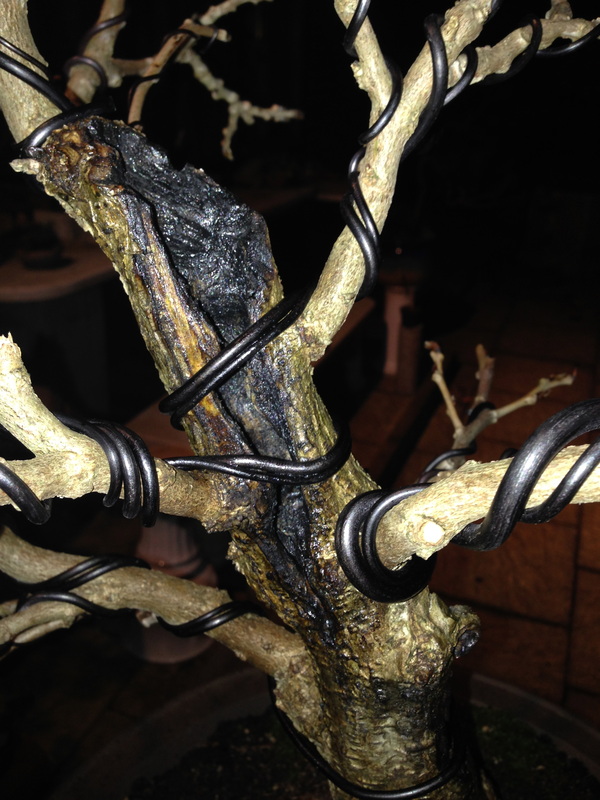
The rotten deadwood was first removed with a 'bonsai nibbler' bit in a Makita die grinder, and branch some stubs and wounds were also hollowed out. A large deadwood area above the now lowest branches was rotten to quite a depth. This area also happened to be an area of the trunk which displayed inverse taper. By hollowing it out, and opening some delicate 'windows' to the sides, the inverse taper becomes less evident to the eye, as it now has less 'visual weight'. Smaller holes were made with a smaller router bit on a Dremmel grinder, such as those towards the top of the tree. The rough carvings were then singed to remove fluffy bits of wood, then a rotary wire brush bit in a Dremmel was used to add the finer detail. The inside of the uros (hollows) were then painted with black paint to add depth to the work. The tree's great movement is more evident, with the main defining branch setting the flow of direction of the tree. From the front view, the subtle indications of rotten hollows further adds to the intrigue and maturity of the tree. The height of the tree will be reduced further either in mid-summer, or next autumn/winter.
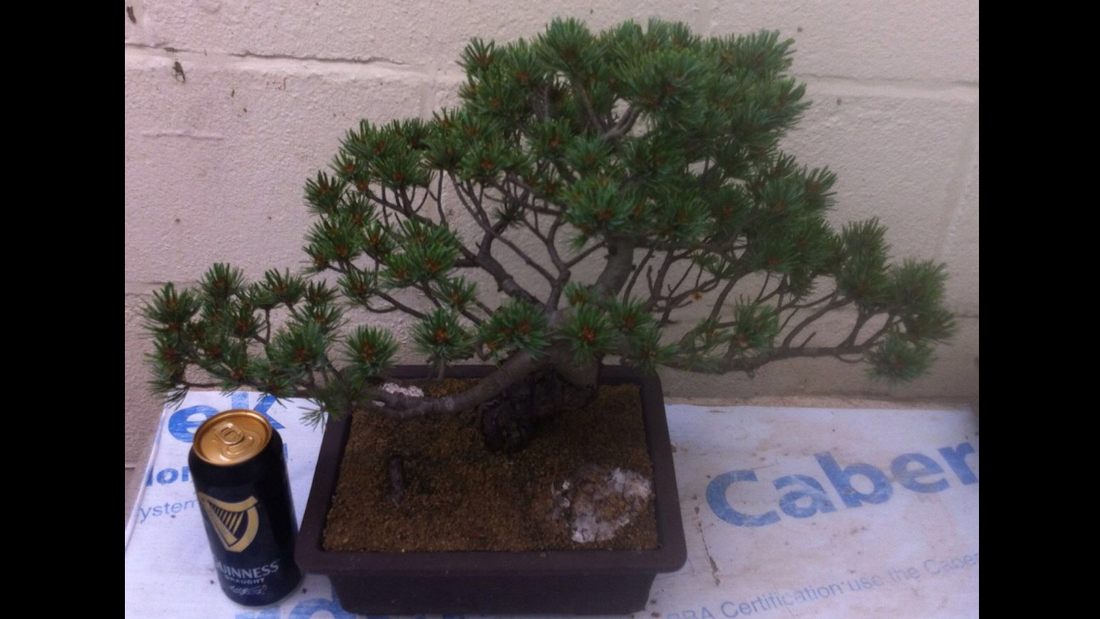
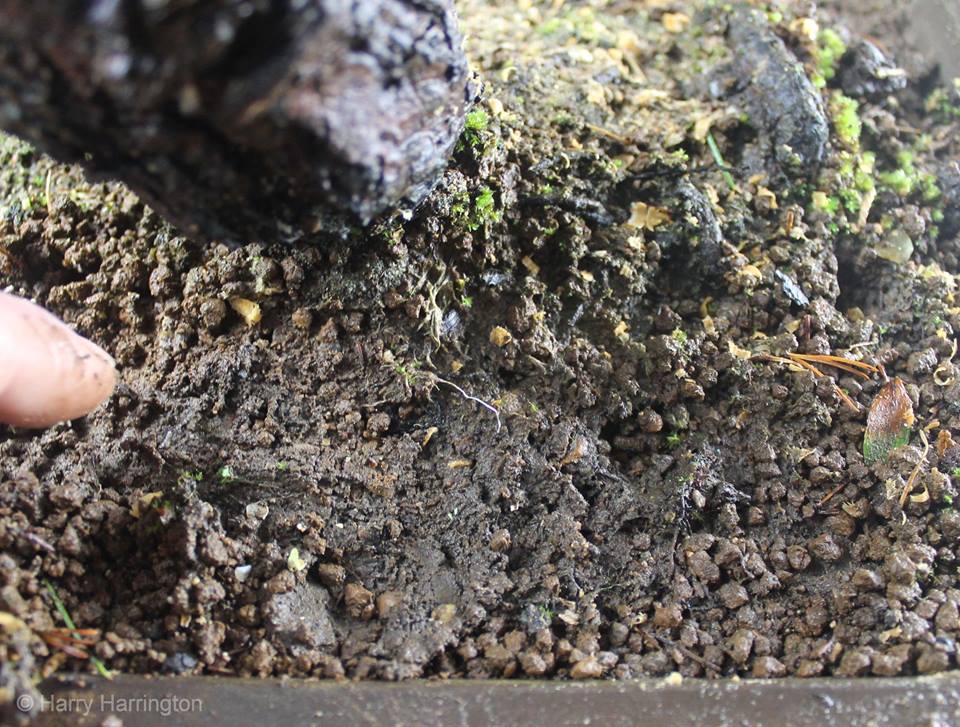
I acquired this JWP this year, in order to learn about growing habits of different pines, and how best to develop them. Although a good sized trunk, and a healthy tree with ample foliage, this tree has no definition and was potted in Akadama. The tree had obviously not been re-potted for a few years as the Akadama had broken down into a thick, mushy impermeable block. Water merely runs around the outside of the solid medium/root mass block, not penetrating the root ball, which must also be starved of oxygen and nutrients! For trees such a pines and junipers, that can't be bare-rooted as often as others (especially older trees), due to their more dependent relationship to mycorrhizal fungi etc., a medium which retains its form and composition for longer than Akadama would therefore be advised.
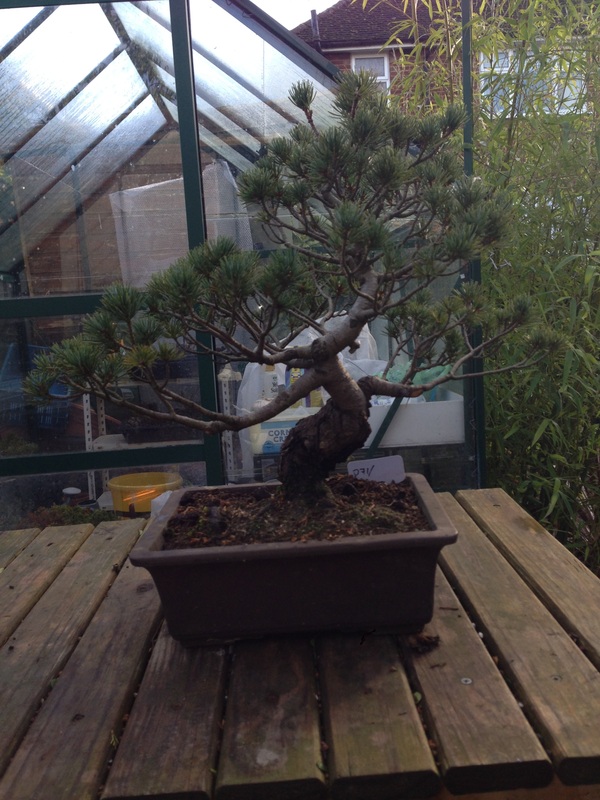
The tree more or less had 'bar branches' to the lower branches, which I wasn't keen on. It was decided at a workshop with Harry to remove the weaker of the two down to a jin, and to use the other as the main defining branch. With this in mind, the rest of the trees primary and secondary branches were wired and positioned, and a new apex was chosen, and twisted round and down and over the tree base / center of gravity. Initial styling, some pruning and wiring was done at the workshop, but we didn't have time to wire each individual tuft.
When I got the tree home, I finished wiring the individual needle tufts, and turned them upwards.
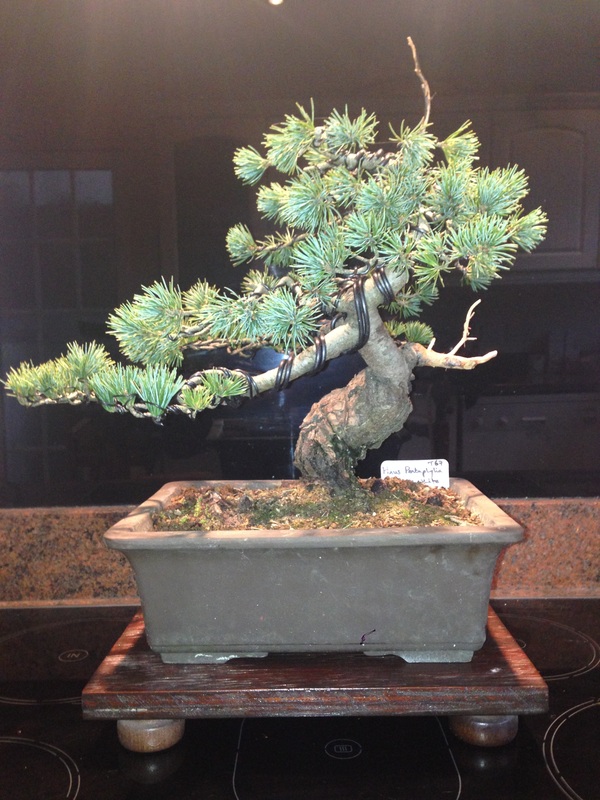
The Apex still needs to be lowered further and all foliage pads will be pruned to increase density and ramification. The jin will be worked on more once it has dried out fully.
In spring, the tree will be root pruned and re-potted into a new pot, which will be unglazed, and be slightly shallower (2.5" as per the trunk girth), and slightly narrower (c.8" as per 2/3rds of the tree's height/width). The old broken down soil around the rootball needs removing, but this will unlikely be done in one go as caution should be exercised when bare-rooting such pines. Some people bare-root in 2 halves; over 2 seasons, and others merely remove the old unwanted soil carefully over 2 or 3 potting seasons. I will decide how to go once I have examined the rootball in spring. Azalea 'Hekisui' styling
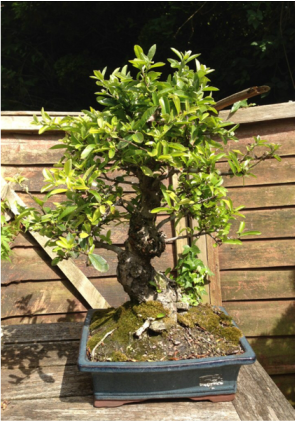
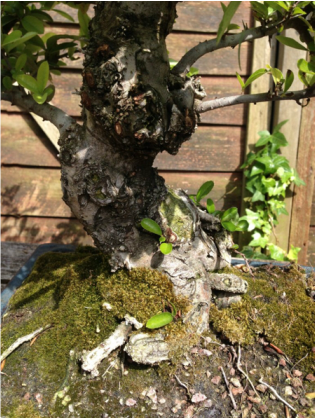
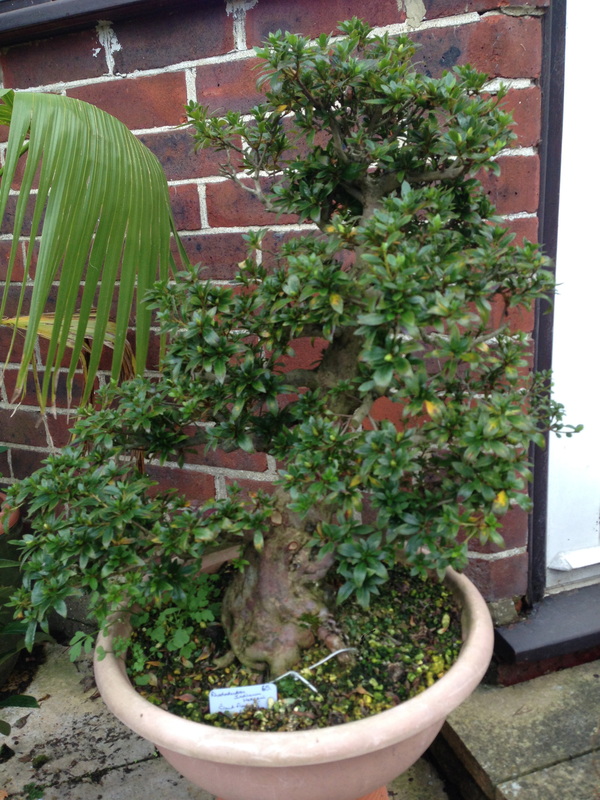
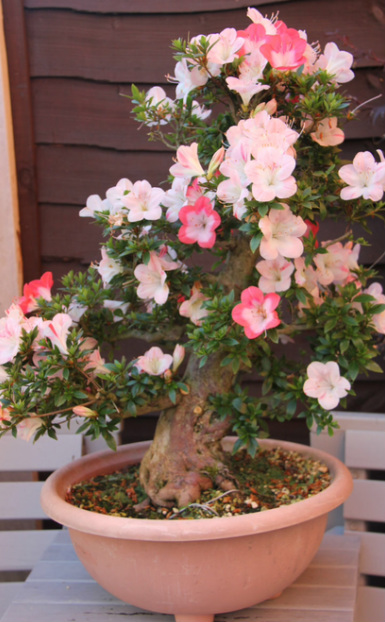
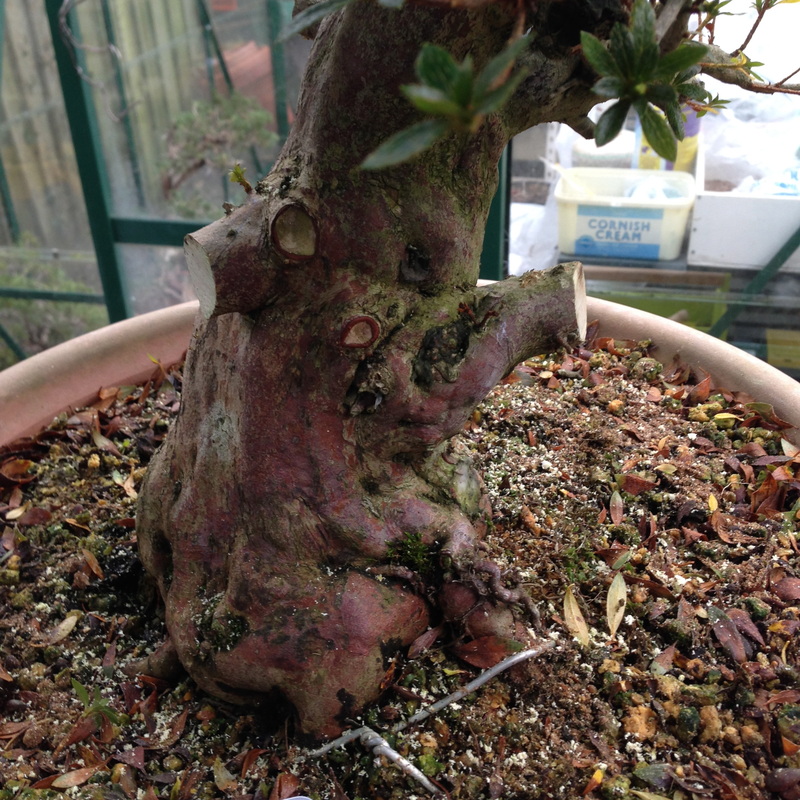
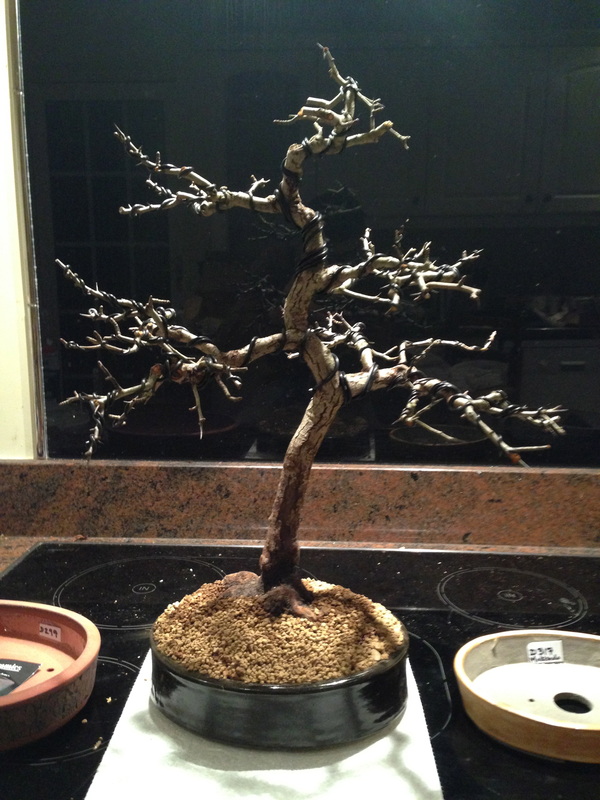
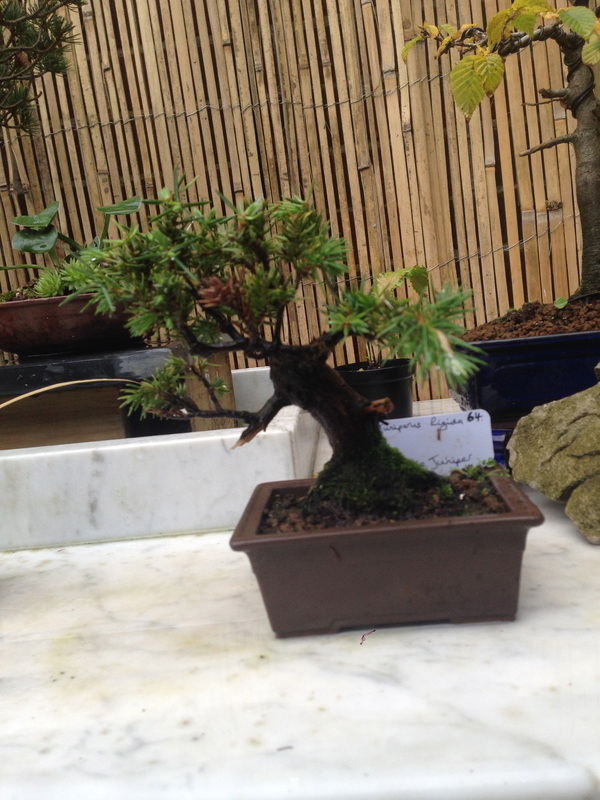
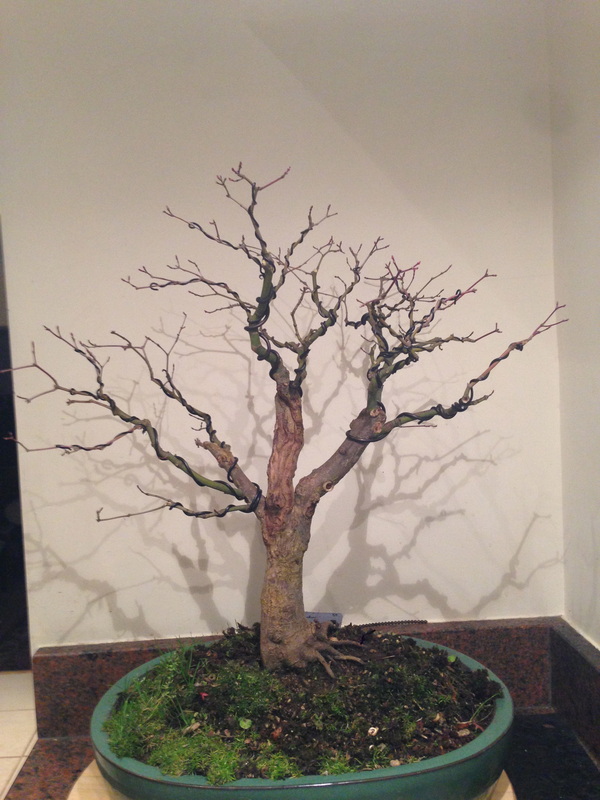
This tree has some beautiful features, and some aspects that could be improved. The tree has a great trunk girth and taper, and little nebari (surface roof flair). The lower two branches however are surplus to requirement and hide the trunk, making the bonsai look more like a bush than a tree. Originally, these branches would not have been part of the design of the tree, but were grown as 'sacrificial' branches, in order to thicken the trunk. As they have now served their purpose, they can be removed. This however will leave an ugly scar for a few years at least if cut flush to the trunk (or slightly concave to encourage callousing flatter to the trunk). To overcome this problem, the branches were cut off, leaving approximately an inch of stump, which was hollowed from behind, leaving the viewer with a cleaner image when viewed from the front.
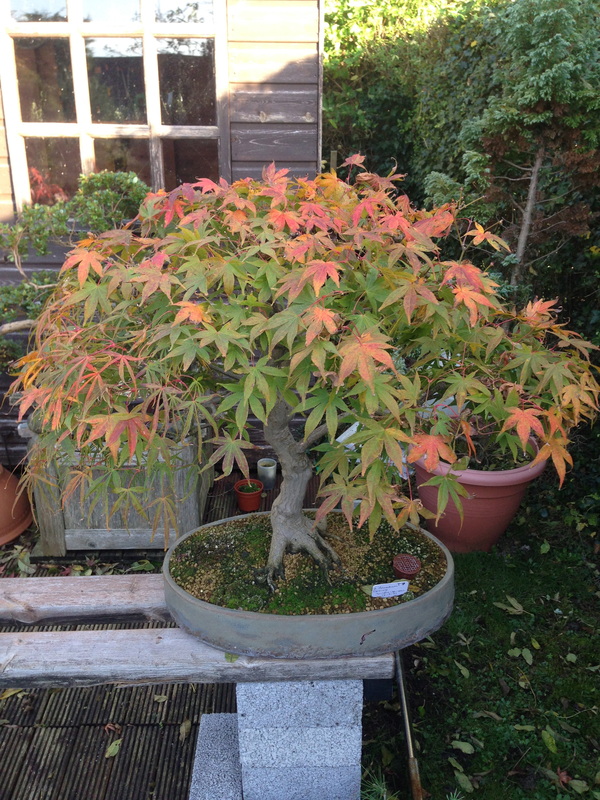
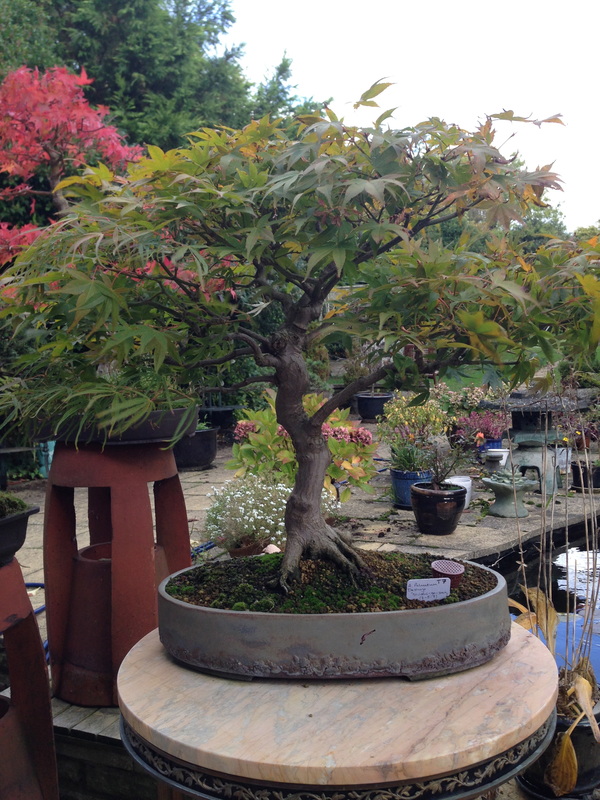
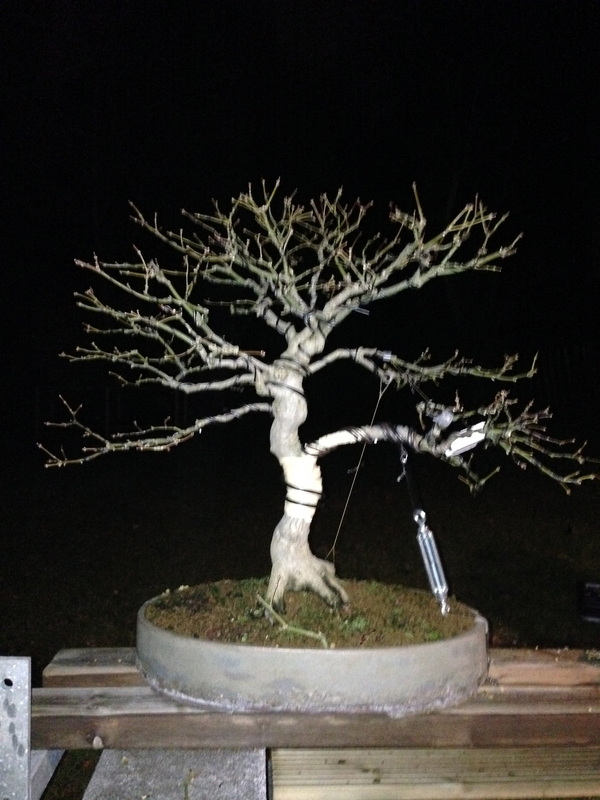
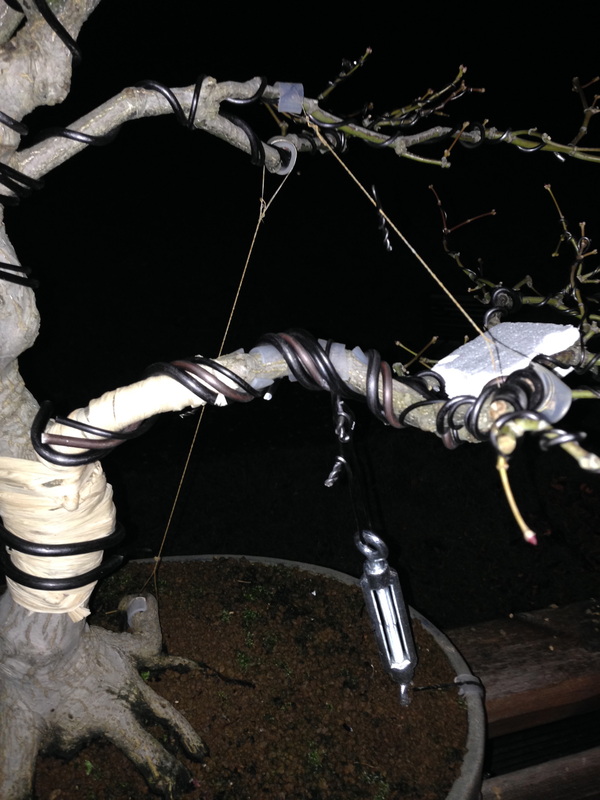
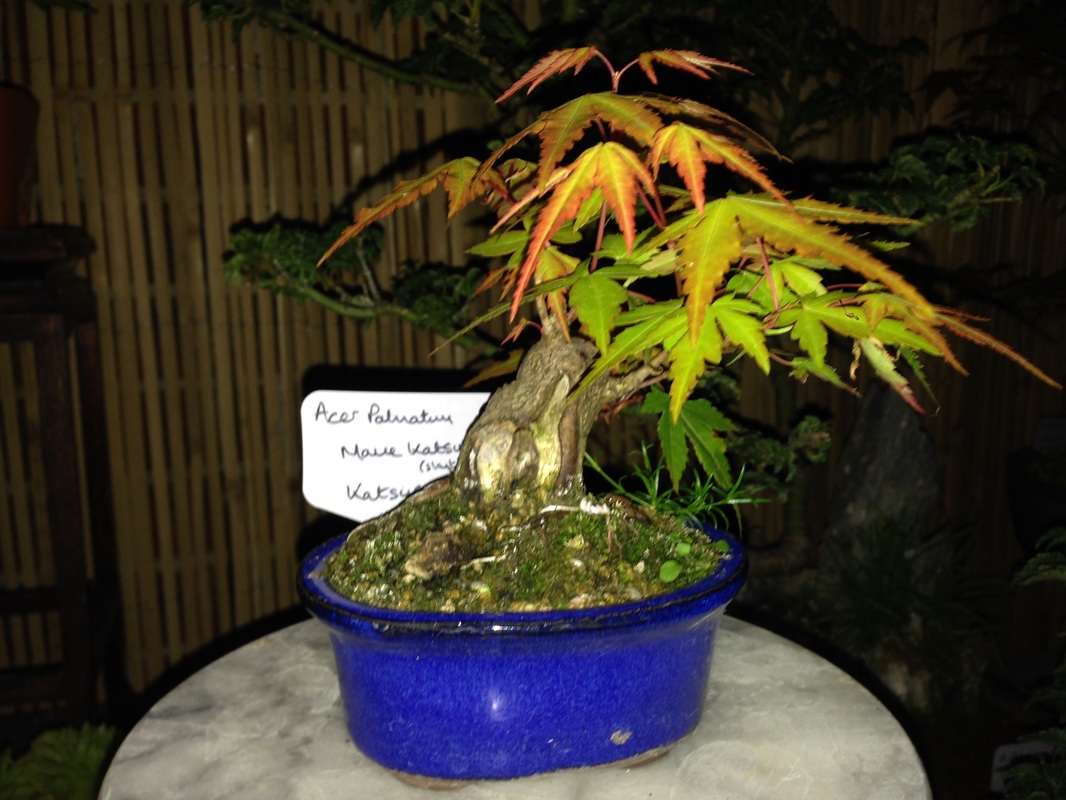
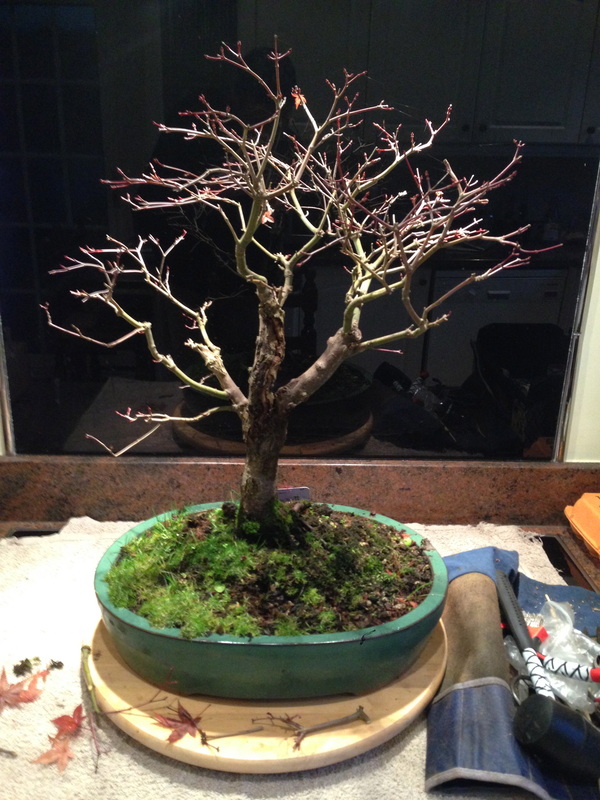
The tree's trunk leans to the right, however the movement of the tree flows to the left. Although the main defining branch is not in this case the lowest branch (as is usually the case), it is thicker, longer, and is defines the direction of flow or movement of the tree. Shortening the tree slightly has been discussed, but in any case, the apex is to be styled and grown toward the direction of movement of the tree - and over the apex. Bringing the apex over the base of the tree, or 'center of gravity' creates a balanced image to the tree. 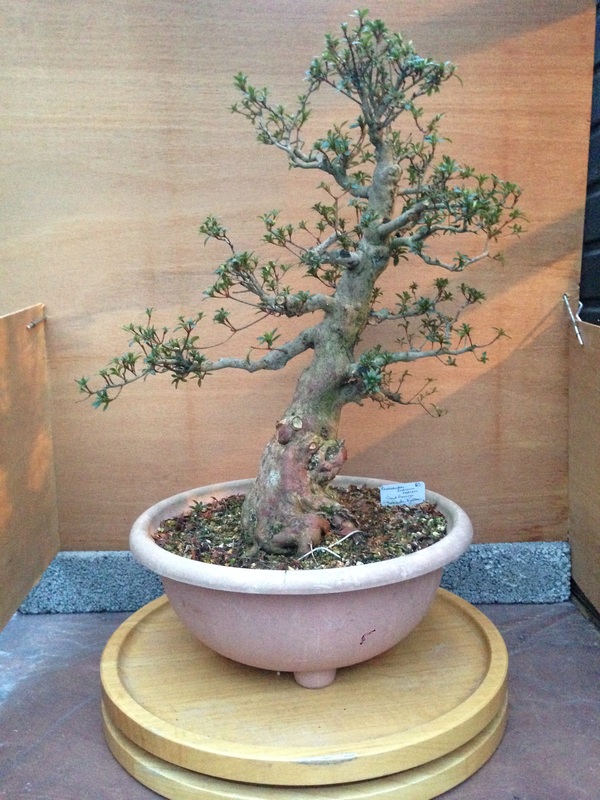 A. Palmatum Deshojo 'shiche-go-san' This tree has different shaped leaves and stunning colour changes, however the branch structure and winter silhouette do require some improvement. The main defining branch, to the bottom left was wrapped in raffia, wired, and bent to a lower position. A turn-buckle and wire guy wire were used to gently move the branch even lower, and hold its position there. Other branches were pruned, wired and positioned, with the seond lowest branch to the left also being lowered, aided by a guy wire. The tree's image would be improved if the leaves were reduced in size, but Deshojo are less hardy than green leaved palmatums (so I read; although my local nursery fully defoliate deshojos annually with great success!), so I will begin by doing partial defoliation this year, starting after the spring leaves harden off (a month after opening?!), by removing all larger leaves, and perhaps removing one leaf from each pair. The nebari also needs work, but this year im concentrating on starting to build better ramification to the branch structure, with good taper, and try and reduce the leaf size.
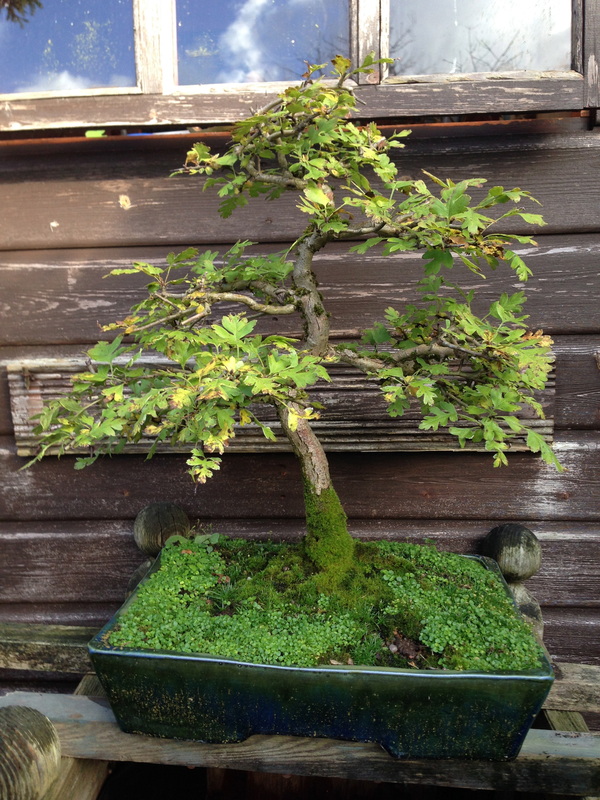
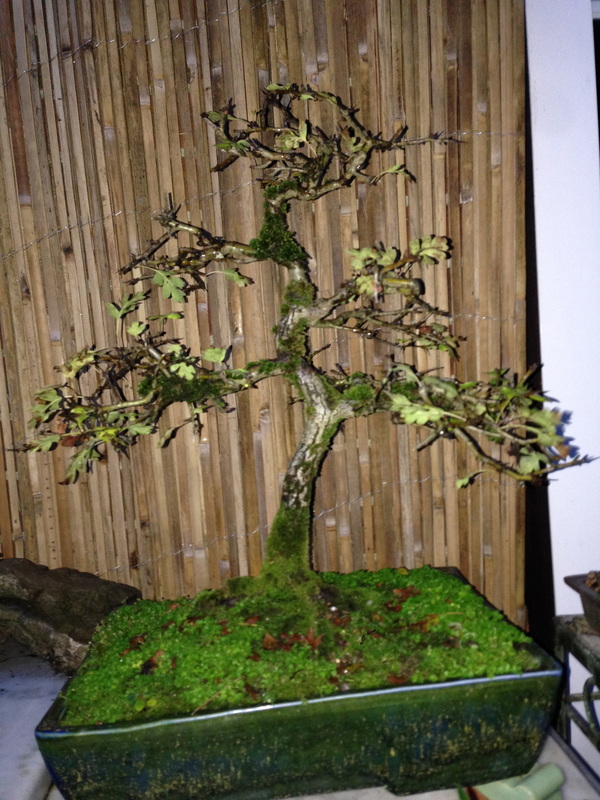
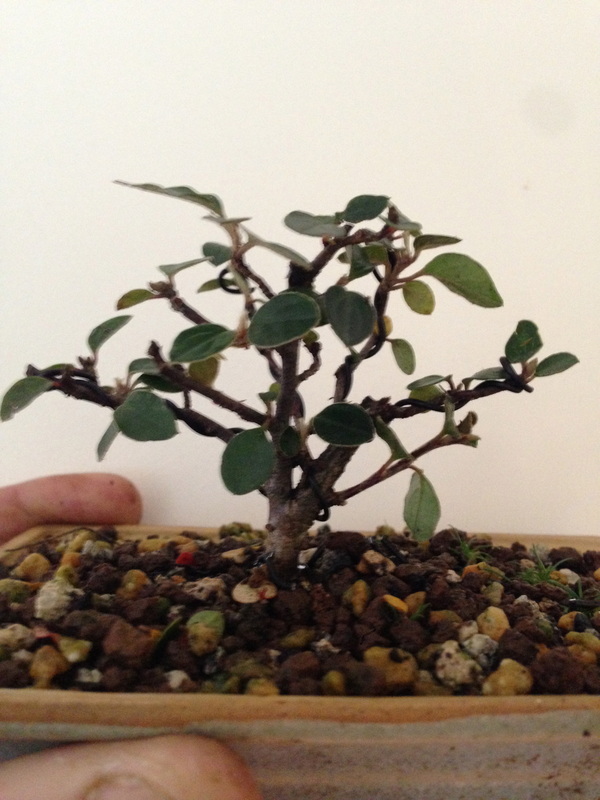
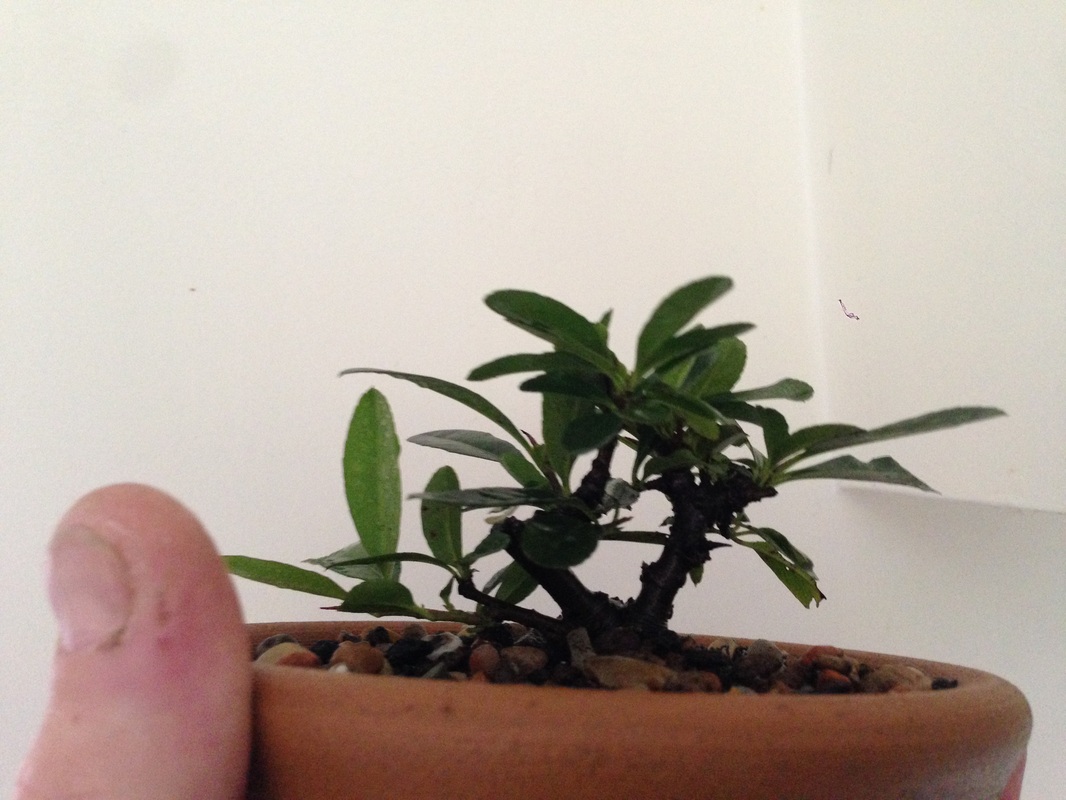
Hawthorne prune & repot Although not the ideal time of year to repot, this Hawthorne really needed more than just a prune! Due to the waterlogged soil, I slipped the tree out of its pot and inspected the roots. Inside some circulating roots, the root ball was not enormous, but the tree was in organic soil - mud basically, and the lack of drainage, together with the huge pot it was in, persuaded me to remove some of the mud and roots, and to re-pot the tree into a smaller pot with a more free draining soil mix. The tree was also cleaned with a toothbrush and water.
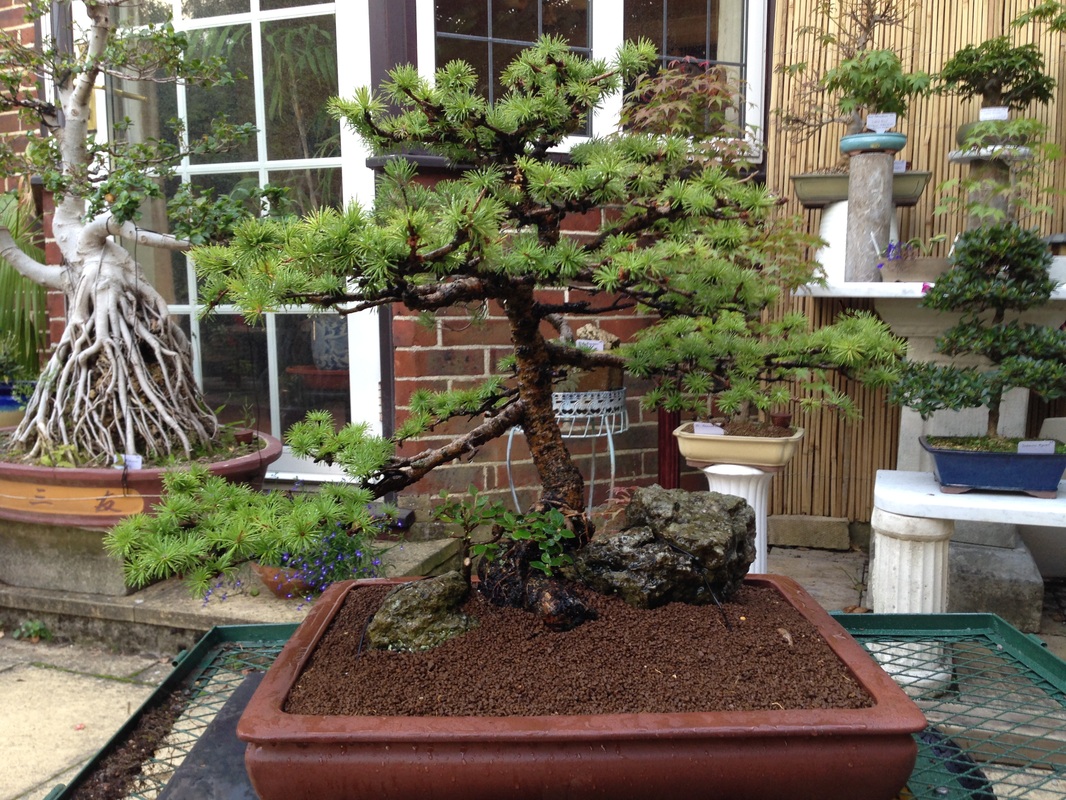
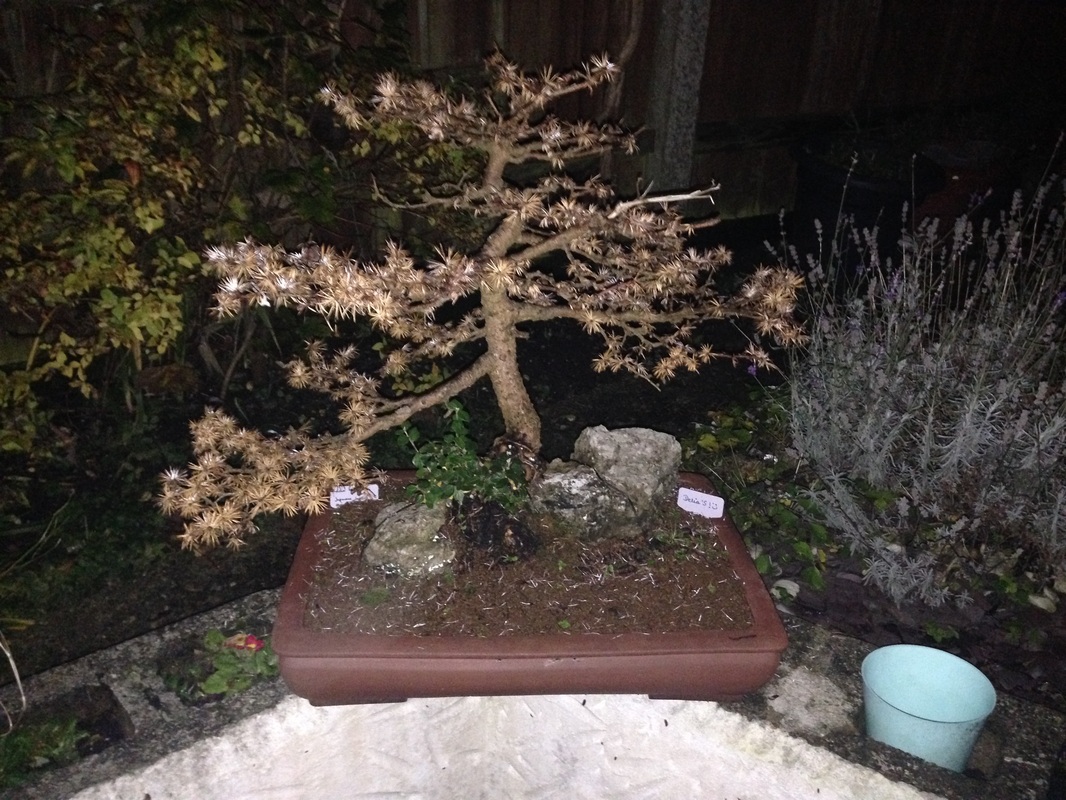
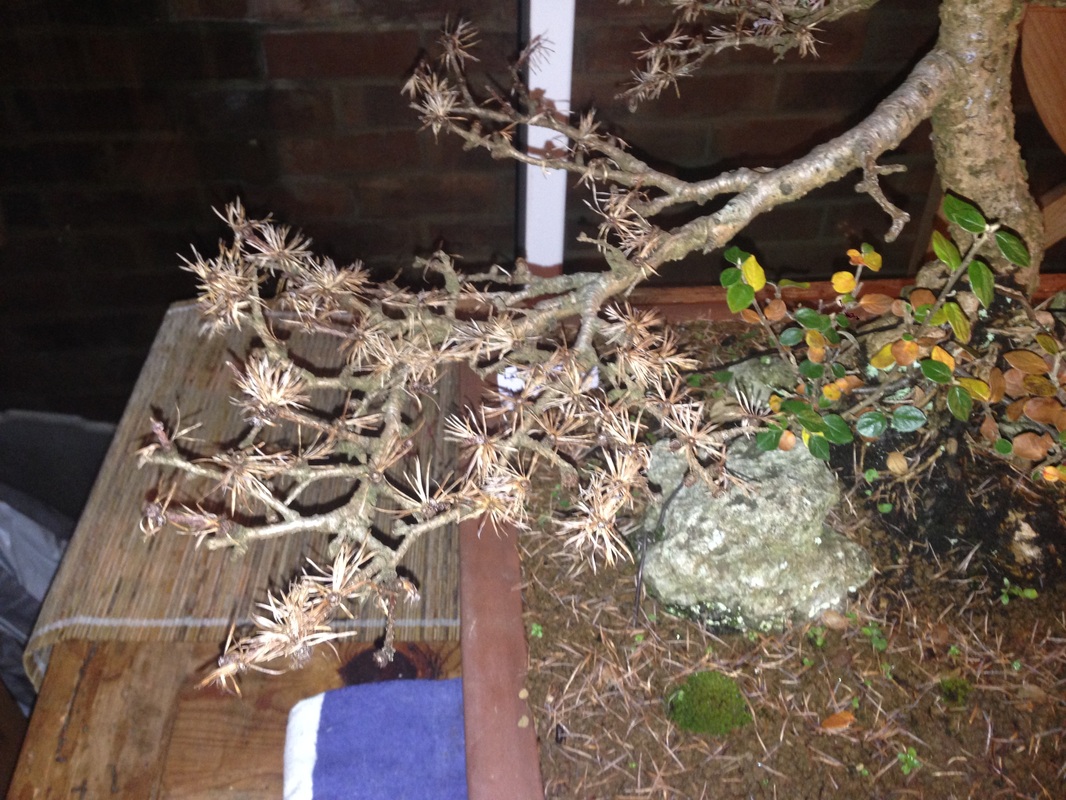
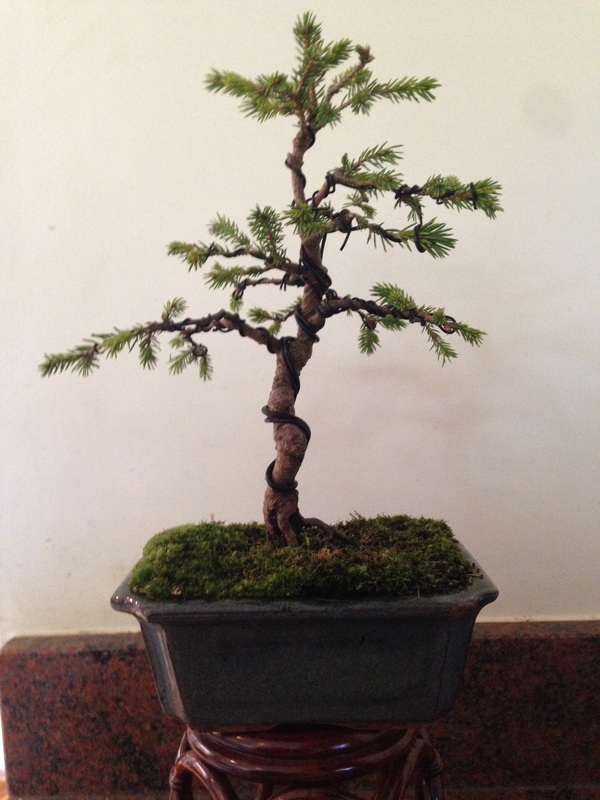
Delia's Larch, come autumn, needed a tidy up and prune. We decided to reposition a couple of branches too.
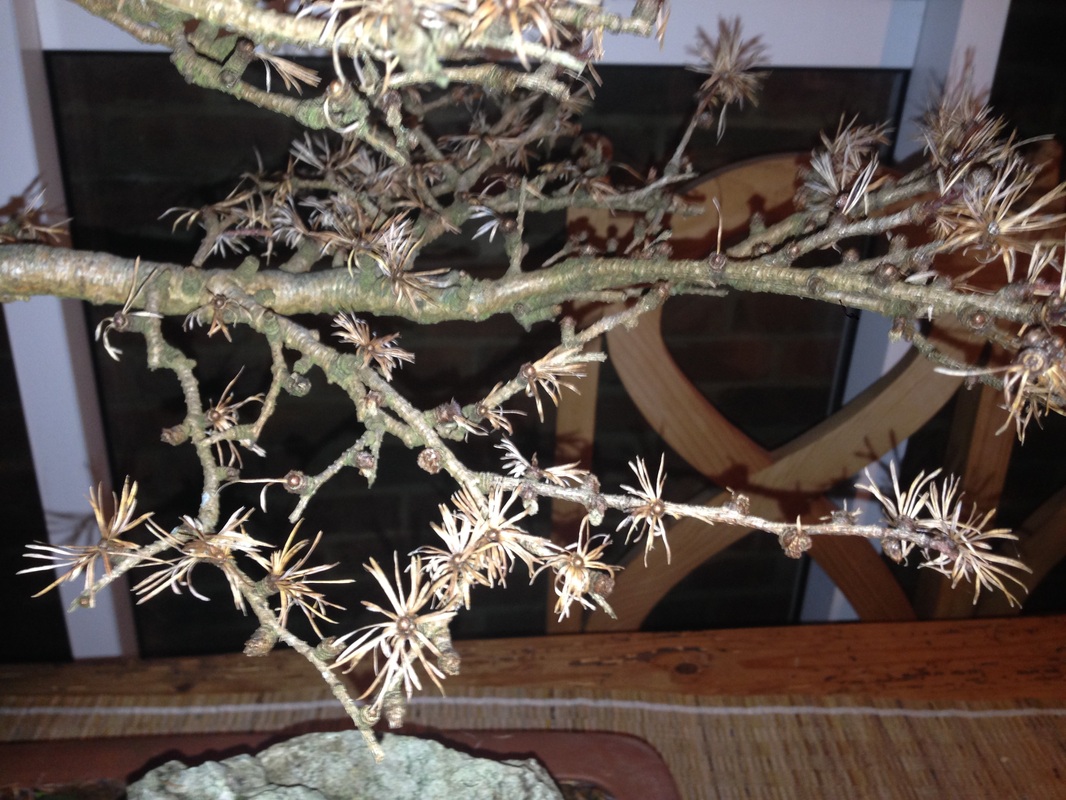
The branches were pruned for taper, thinned out where congested, then wired and placed.
The bottom lower branch was brought forward Lower branches were wired downwards, with branches higher in the tree positioned upwards more.
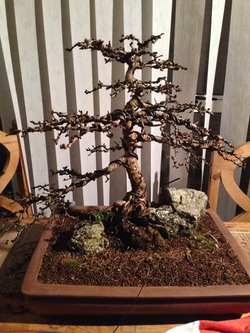
The trees ramification will be worked on for the next couple of years, but this is already a great tree!
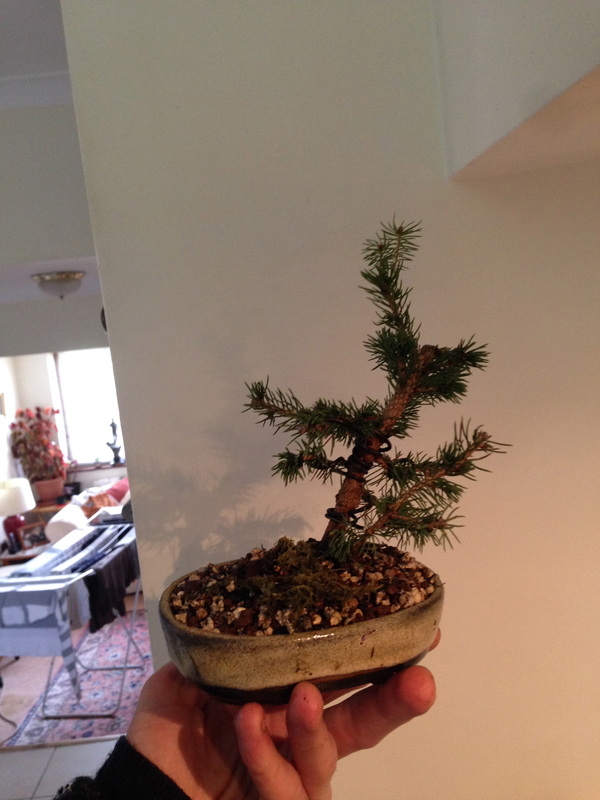
Shohin trees (under c.21cm?!); pruned, wired and ready for winter! ... Chinese Juniper, It's 'shari', Needle Juniper, White Spruce, Cork bark Elm
Ive only recently learned about Junipers as bonsai, and how long it takes to prune and wire a tree fully! - It took me a good 3 hours to prune and wire the tree in pic 1!
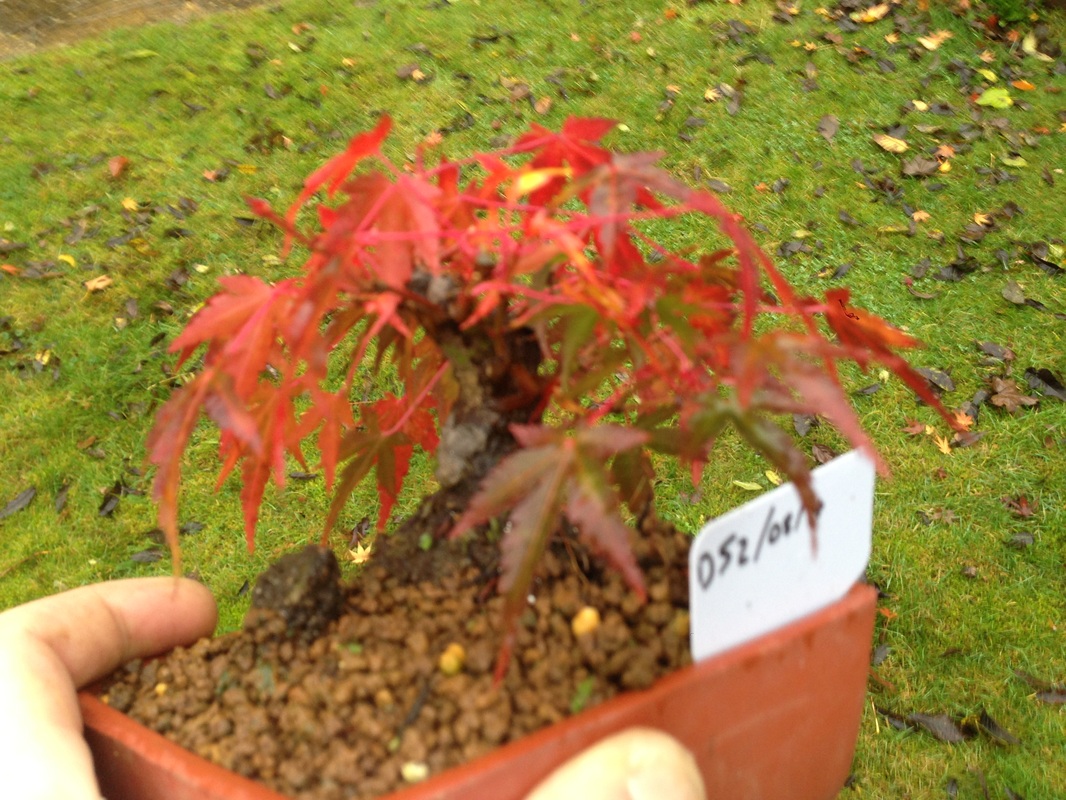
I'm sure with time and practice, it could be done in less than half the time! First prune and wiring of a Deshojo Maple. ... Before and after. After removing deadwood, forks of over 2 branches, improperly placed branches etc, I tried to reduce the congested areas and wire the branches so the tips all have their own space.
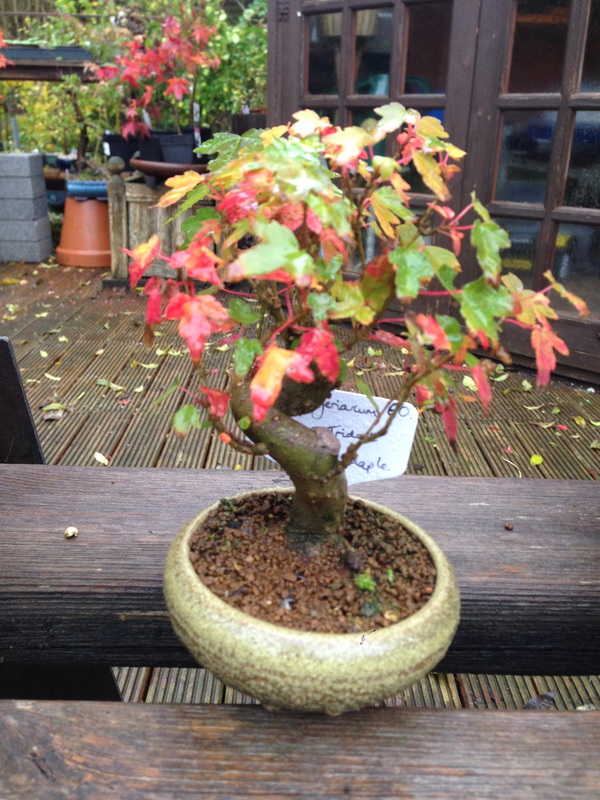
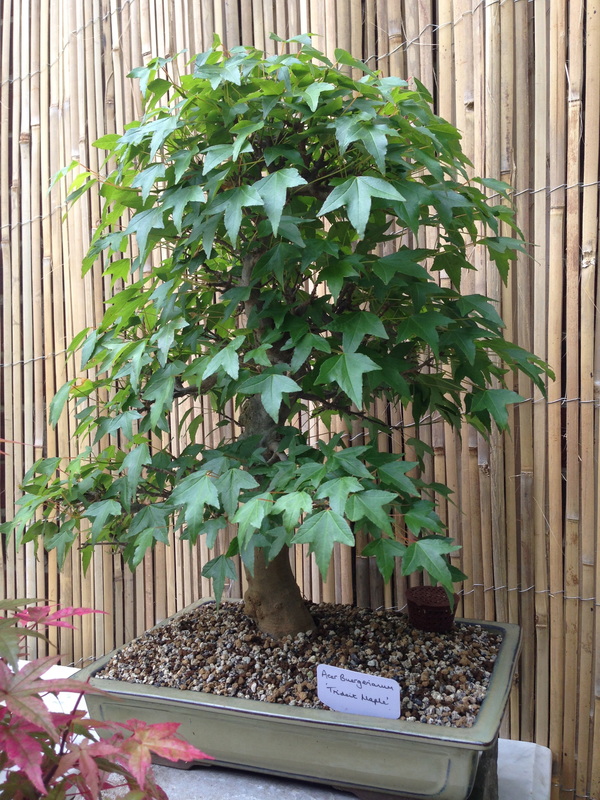
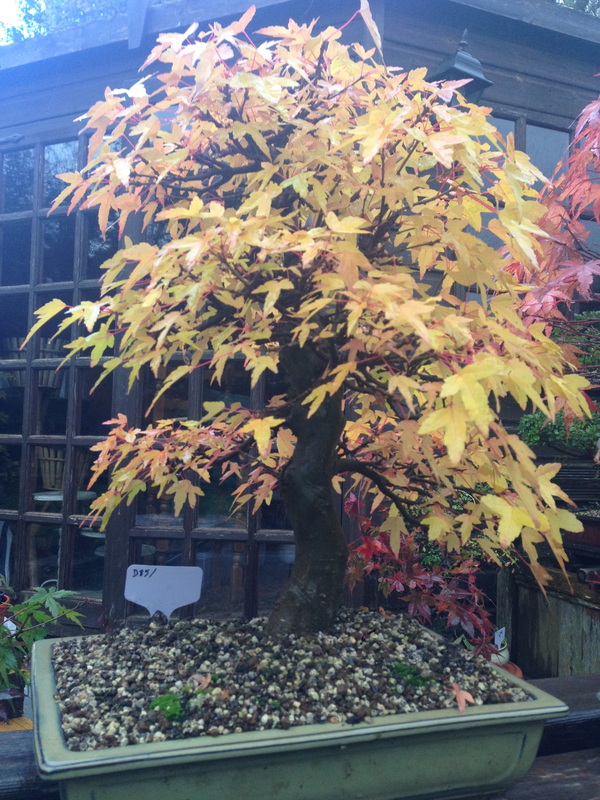
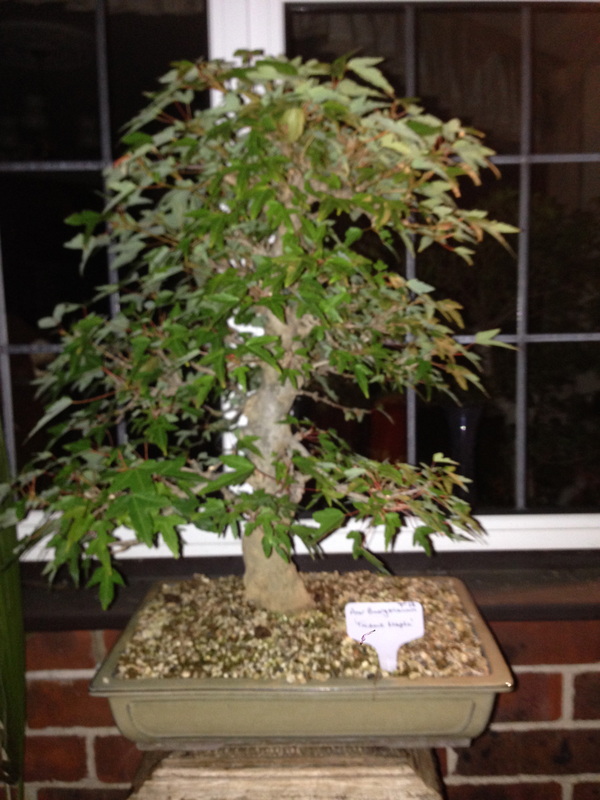
The tree has been cleaned, with deadwood removed from the trunk and branches. Moss was removed from around the bottom of the trunk, revealing a nebari in need of some work; a future project perhaps?! Below is a close up showing the trunk pre-clean. 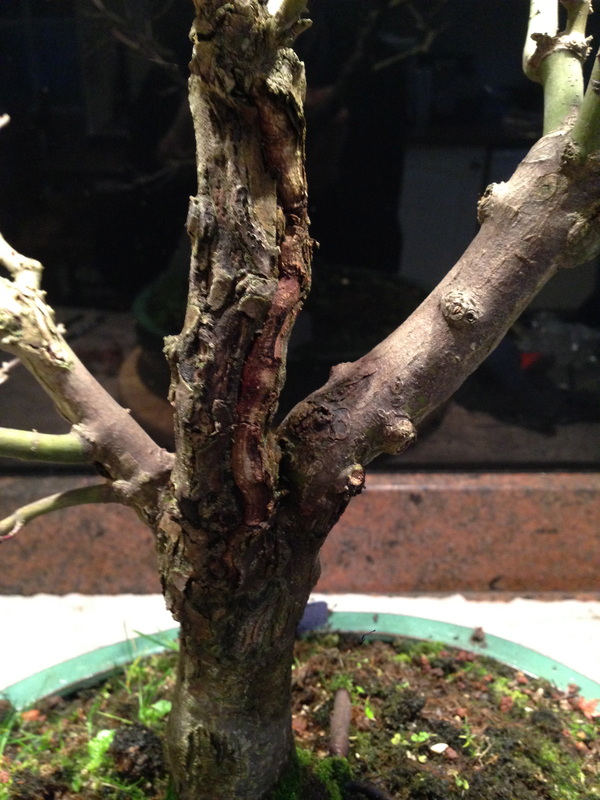 The tree will be root pruned and re-potted in Spring in a more free draining soil mix, which with regular feeding and pruning, should improve the health and vigor of the tree. I got this trident maple in early summer 2014; the first picture as purchased, and the second photo 4 weeks after a full defoliation. During this defoliation, I noticed the tree had many forks of 3 or more branches (unacceptable as induces inverse taper / swelling), and some thick branches near the top of the tree which would need removing.
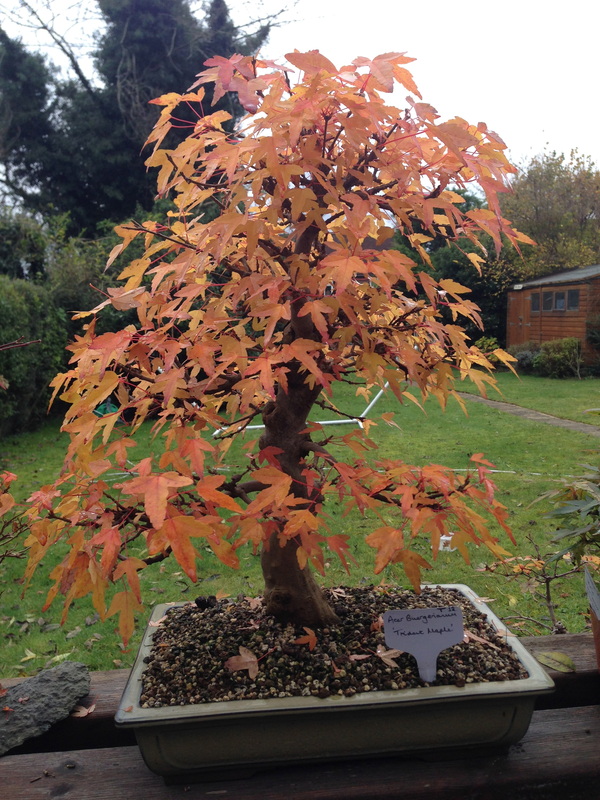
Autumn coats!
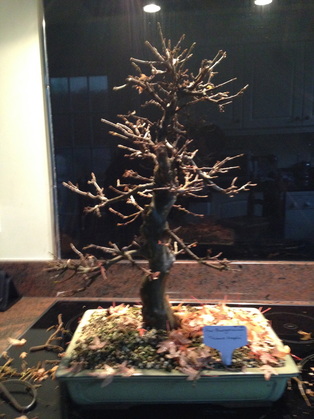
Before and after the autumn prune. Pruned for removal of; deadwood, crossing branches, those growing straight up or down or towards the trunk, forks of more than 2 branches, and thick branch tips (lack of taper). I decided not to wire the tree.
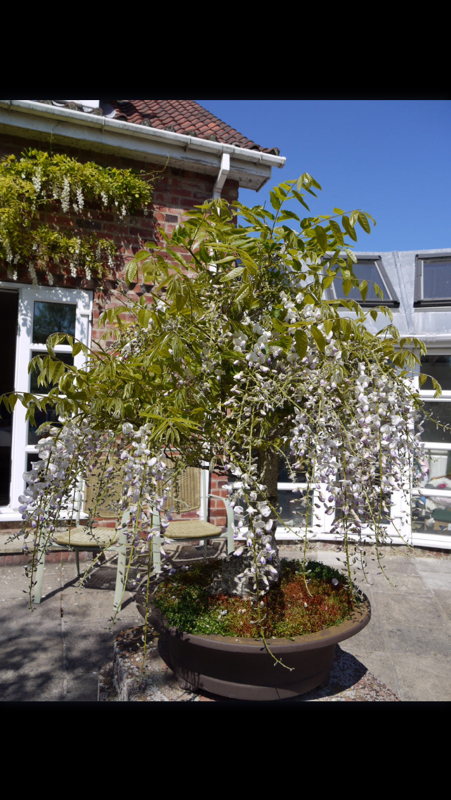
This morning (Sunday) I've been at 'The Bonsai Shed' with Andrew Barber, hiding from the rain! After a good cup of coffee, we got to work, him carving, repotting & styling a large Chinese Elm belonging to a client of his, and me carving a wisteria I recently acquired, which had two prominent chop stubs. One was near the top of the trunk, and the other from a lower branch. Some of this deadwood had started rotting, and woodlice had gotten behind the bark.
 Majority of the carving done.
|
To subscribe to my blog, please enter your e-mail address below.
Categories
All
BlogsI will post some pictures and descriptions of how my trees are developing, and any new projects I'm starting. Archives
October 2018
BlogsSome of the blogs I follow with great interest! .. then my favourite ceramic artists!
Bonsai BlogsMy Favourite Ceramic ArtistsUK
P.A.S. Pottery
Erin Pottery
John Pitt
Europe
Jose Antonio Guerao
|


 RSS Feed